Configuração do Yocto do Mender
Estamos usando o ramo do Yocto Kirkstone para desenvolvimento. Assumimos que você já tenha um ambiente de desenvolvimento de trabalho instalado e configure o seu ambiente conforme descrito em VisionFive – Mender – Yocto – Parte 1.
Configuração do servidor do Mender
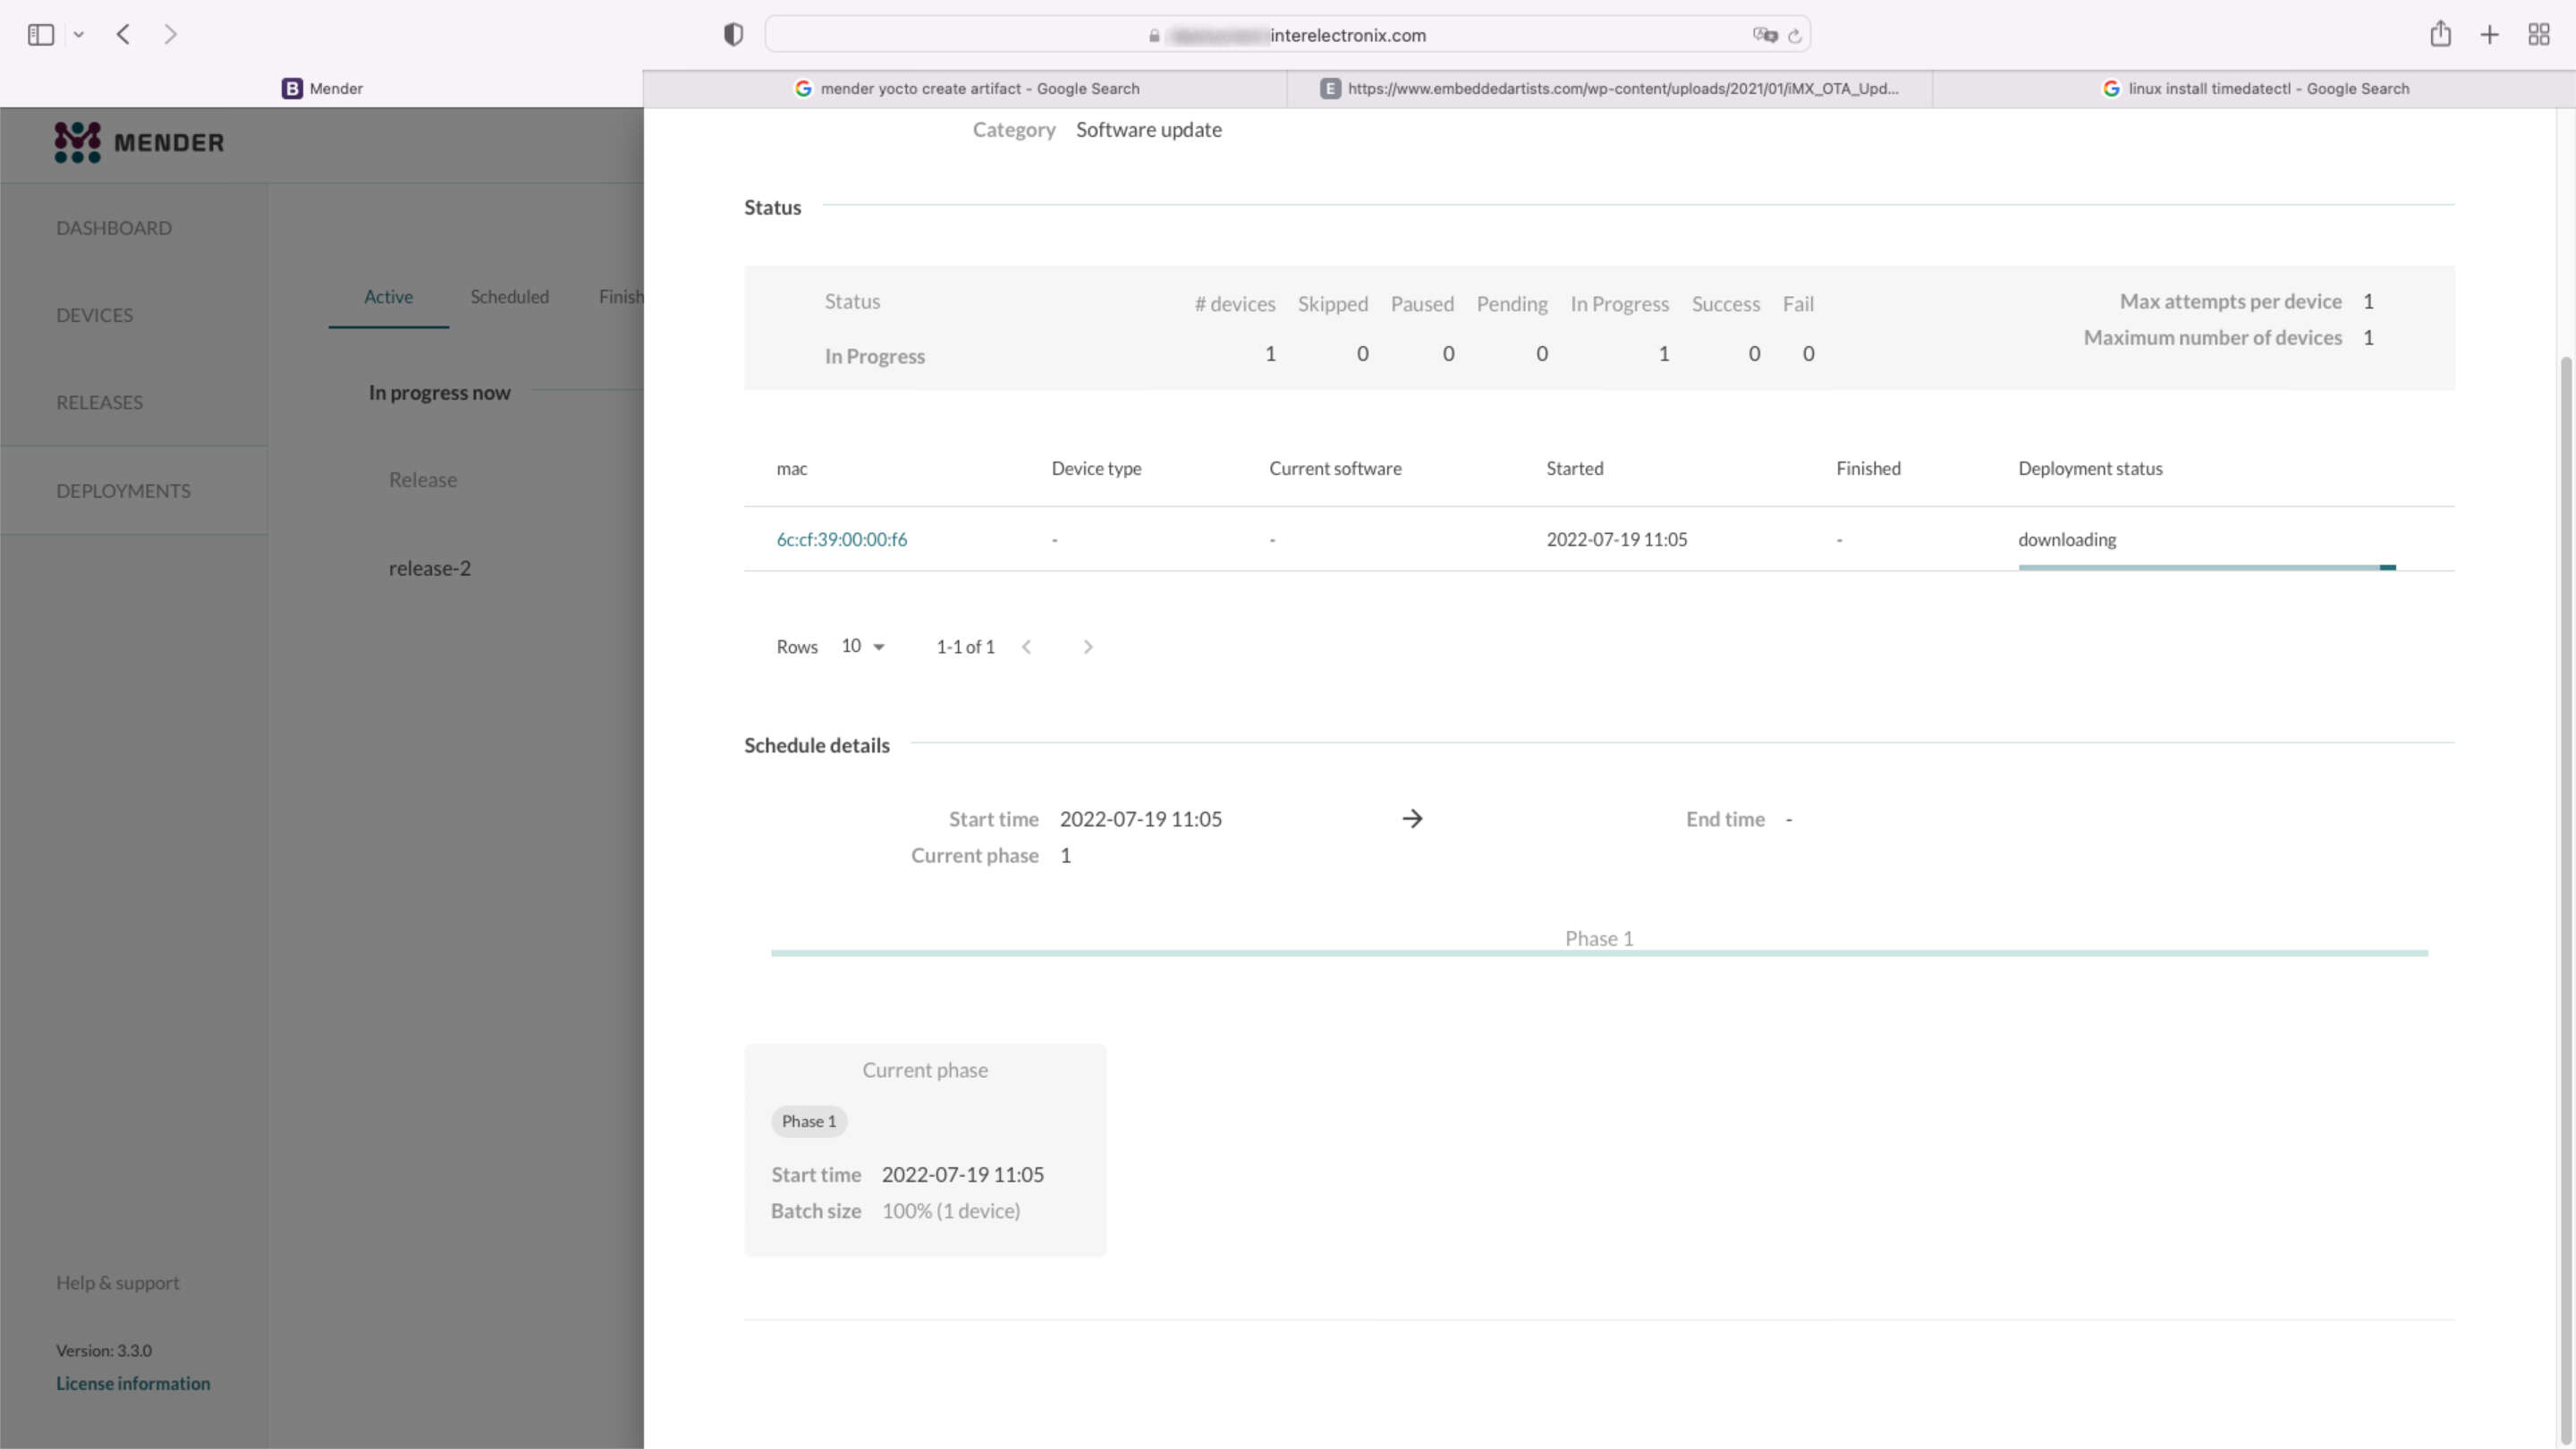
A instalação do servidor do Mender não faz parte desta série de artigos. Para o nosso ambiente de teste, instalamos o servidor do Mender usando o tutorial de instalação com docker-compose conforme descrito na instalação com Docker Compose.
Observação:
Desviando do tutorial, usamos o nosso certificado CA curinga personalizado. Se você quiser fazer isso, você tem que copiar a sua chave pública e privada para "/mender-server/production/keys-generated/cert" antes de executar o comando "./run up -d".
Antes de continuar, você deve ser capaz de fazer login no servidor do Mender sem receber nenhuma mensagem de erro.
Clonar o meta-mender
Vá para o seu diretório do poky — no meu caso é o poky-kirkstone — e clone o repositório meta-mender. Como ainda não existe um ramo Kirkstone, você tem que clonar o ramo "master-next".
cd poky-kirkstone
git clone -b master-next https://github.com/mendersoftware/meta-mender.git
local.conf e bblayers.conf
Copie bblayers.conf.sample-mender e local.conf.sample-mender do diretório meta-interelectronix-visionfive para o diretório conf e renomeie-os para bblayers.conf e local.conf:
cp ../poky-kirkstone/meta-interelectronix-visionfive/conf/bblayers.conf.sample-mender conf/bblayers.conf
cp ../poky-kirkstone/meta-interelectronix-visionfive/conf/local.conf.sample-mender conf/local.conf
No arquivo bblayers.conf, você precisa ajustar o caminho para o diretório poky-kirkstone. Exclua também a linha "/workdir/poky-kirkstone/meta-interelectronix" — ela só é necessária para a nossa personalização do psplash.
As configurações importantes em local.conf são:
# mender settings
# The name of the disk image and Artifact that will be built.
# This is what the device will report that it is running, and different updates must have different names
# because Mender will skip installation of an Artifact if it is already installed.
MENDER_ARTIFACT_NAME = "release-1"

INHERIT += "mender-full"

# The version of Mender to build. This needs to match an existing recipe in the meta-mender repository.
#
# Given your Yocto Project version, see which versions of Mender you can currently build here:
# https://docs.mender.io/overview/compatibility#mender-client-and-yocto-project-version
#
# Given a Mender client version, see the corresponding version of the mender-artifact utility:
# https://docs.mender.io/overview/compatibility#mender-clientserver-and-artifact-format
#
# By default this will select the latest version of the tools that is backwards compatible with the
# given Yocto branch.
# If you need an earlier version, or a later version even though it may not be backwards compatible,
# please uncomment the following and set to the required version. If you want to use the bleeding
# edge version, specify "master-git%", but keep in mind that these versions may not be stable:
#
# PREFERRED_VERSION_mender-client = "3.3.0"
# PREFERRED_VERSION_mender-artifact = "3.8.0"
# PREFERRED_VERSION_mender-artifact-native = "3.8.0"
# PREFERRED_VERSION_mender-connect = "2.0.1"

# The following settings to enable systemd are needed for all Yocto
# releases sumo and older.  Newer releases have these settings conditionally
# based on the MENDER_FEATURES settings and the inherit of mender-full above.
DISTRO_FEATURES:append = " systemd"
VIRTUAL-RUNTIME:init_manager = "systemd"
DISTRO_FEATURES_BACKFILL_CONSIDERED = "sysvinit"
VIRTUAL-RUNTIME_initscripts = ""

ARTIFACTIMG_FSTYPE = "ext4"

# Example: Memory card storage
MENDER_STORAGE_DEVICE = "/dev/mmcblk0"
# Example: Memory card with 2GiB of storage.
#MENDER_STORAGE_TOTAL_SIZE_MB = "29476"
#MENDER_STORAGE_TOTAL_SIZE_MB = "14738"
MENDER_STORAGE_TOTAL_SIZE_MB = "7369"

MENDER_UBOOT_STORAGE_INTERFACE = "mmc"
MENDER_UBOOT_STORAGE_DEVICE = "0"

MENDER_BOOT_PART = "${MENDER_STORAGE_DEVICE_BASE}1"
MENDER_DATA_PART = "${MENDER_STORAGE_DEVICE_BASE}4"
MENDER_ROOTFS_PART_A = "${MENDER_STORAGE_DEVICE_BASE}2"
MENDER_ROOTFS_PART_B = "${MENDER_STORAGE_DEVICE_BASE}3"

MENDER_FEATURES_ENABLE:append = " mender-uboot mender-image-sd"
MENDER_FEATURES_DISABLE:append = " mender-grub mender-image-uefi"

MACHINE_ESSENTIAL_EXTRA_RDEPENDS:append = " kernel-image kernel-devicetree"

PREFERRED_VERSION:mender-client = "3.3.0"
Personalizar o meta starfive-bsp
Você deve criar um ramo do meta-starfive-bsp para adicionar as configurações necessárias para a configuração do Mender.
Personalizações são necessárias em:
— conf/machine/starfive-visionfive-jh7100.conf: remova ou comente estas duas linhas
UBOOT_ENV ?= "uEnv"
UBOOT_ENV_SUFFIX = "txt"
— recipes-bsp/bootfiles/files/uEnv.txt: substitua a seguinte linha para incluir as variáveis do Mender durante a inicialização
bootcmd=load mmc 0:1 ${kernel_addr_r} @IMAGETYPE@; load mmc 0:1 ${fdt_addr_r} jh7100-starfive-visionfive-v1.dtb; setenv bootargs 'root=${mender_kernel_root} rw rootfstype=ext4 rootwait earlycon console=ttyS0,115200n8'; booti ${kernel_addr_r} - ${fdt_addr_r}— recipes-bsp/u-boot/u-boot-visionfive_v2022.03.bb: adicione as seguintes linhas para informar ao meta-mender que um u-boot personalizado está sendo usado
require recipes-bsp/u-boot/u-boot-mender.inc

PROVIDES += "u-boot"
RPROVIDES_${PN} += "u-boot"

BOOT_FILES:append = " uEnv.txt"
Receitas em meta-interelectronix-visionfive
Algumas configurações e variáveis precisam ser definidas em meta-camada personalizada, como fazemos em meta-interelectronix-visionfive.
— recipes-mender/mender-client/mender-client_%.bbappend: adicione o URL do servidor do Mender
MENDER_SERVER_URL = "https://mender.interelectronix.com"— recipes-bsp/u-boot/u-boot-visionfive_%.bbappend: adicione as seguintes linhas
MENDER_UBOOT_AUTO_CONFIGURE = "1"
BOOTENV_SIZE = "0x20000"
— recipes-bsp/u-boot-env/*: adicione esta receita do arquivo zip baixado. Ele contém dois arquivos uEnv, que são usados no sistema de arquivos raiz. uEnv_visionfive.txt é usado no rootfs, ao inicializar a partir da partição A e uEnv_visionfive3.txt é usado ao inicializar a partir da partição B.
— recipes-core/images/vision-five-image-mender.bb: pegue esta receita de imagem ou adicione "u-boot-env" à sua receita de imagem
IMAGE_INSTALL:append = " v4l-utils u-boot-env"Importante
Antes poder fazer bitbake da sua imagem, você tem que personalizar o u-boot como descrito na próxima parte da série de artigos.
Veja como configurar o u-boot para o Mender no VisionFive – Mender – Yocto – Parte 3.
Licença de direitos autorais
Copyright © 2022 Interelectronix e.K.
Este código-fonte do Projeto está licenciado sob a licença * * GPL-3.0 * *.

Parte 1 de uma série de artigos, como configurar um ambiente do Yocto para criar um Yocto Linux com a integração de um cliente Mender.

Parte 4 de uma série de artigos, como configurar um ambiente do Yocto para criar um Yocto Linux com a integração de um cliente Mender.

Parte 3 de uma série de artigos, como configurar um ambiente do Yocto para criar um Yocto Linux com a integração de um cliente Mender.

