Mender u-boot 设置
我们正在使用 Yocto Kirkstone 分支进行开发。我们假设您已经按照 VisionFive - Mender - Yocto - 第 1 部分 和 VisionFive - Mender - Yocto - 第 2 部分 中的描述安装并设置了开发环境。### u-boot VisionFive 开发板
VisionFive RISC-V SBC 使用两种启动项加载工具:secondBoot 和 u-boot。VisionFive SBC 快速入门指南中描述了其运作机制。处理这些要求意味着
- 我们必须从 https://github.com/starfive-tech/u-boot 使用 mender 的设置修补 u-boot
- 我们必须使用 yocto 对 u-boot 执行 bitbake 命令
- 我们必须手动编译 u-boot 才能使用第 2 阶段的启动引导程序上传
修补 u-boot
首先,从 starfive-tech 克隆 u-boot 衍生程序,以获取要使用的代码库。
git clone -b JH7100_upstream https://github.com/starfive-tech/u-boot.gitMender 自动配置补丁
如果已经设置“MENDER_UBOOT_AUTO_CONFIGURE = "1"”,Yocto 中的 meta-mender-core 将尝试自动修补 u-boot 来满足 Mender 的需要。在大多数情况下,由于开发板制造商的调整,这种场景不起作用。但 Mender 的自动配置补丁是调整 u-boot 的良好起点,适用于 具有 Mender 客户端的 VisionFive SOC。要获取自动配置的补丁,您必须使用“MENDER_UBOOT_AUTO_CONFIGURE = "1"”设置对 u-boot 执行 bitbake 命令:
bitbake u-boot-visionfive已在“your-build-directory/tmp/work/starfive_visionfive_jh7100-poky-linux/u-boot-visionfive/1_v2022.03-r0”目录下创建了名为“mender_auto_configured.patch”的补丁文件。##### 将补丁应用到已克隆的 u-boot
下一步,我们将把 mender_auto_configured.patch 应用到来自 starfive-tech 的克隆 u-boot 存储库。
cd u-boot-starfive
git apply path-to-patch/mender_auto_configured.patch
自定义 u-boot-starfive
u-boot 需要知道 Mender 变量,以获取在使用 Mender 服务器部署项目后 SOC 应该从哪个分区启动的正确信息。因此,我们必须自定义“u-boot-starfive/include/configs/starfive-jh7100.h”文件以获取 Mender 变量并管理从哪个分区启动:
#define STARLIGHT_FEDORA_BOOTENV \
	"bootdir=/boot\0" \
	"bootenv2=uEnv.txt\0" \
	"bootenv3=uEnv3.txt\0" \
	"mmcdev=0\0" \
	"mmcpart=2\0"

#define CONFIG_EXTRA_ENV_SETTINGS \
	MENDER_ENV_SETTINGS \
	STARLIGHT_FEDORA_BOOTENV \
	"loadaddr=0xa0000000\0" \
	"loadbootenv=fatload ${mender_uboot_boot} ${loadaddr} ${bootenv}\0" \
	"ext4bootenv2=ext4load ${mender_uboot_root} ${loadaddr} ${bootdir}/${bootenv2}\0" \
	"ext4bootenv3=ext4load ${mender_uboot_root} ${loadaddr} ${bootdir}/${bootenv3}\0" \
	"importbootenv=echo Importing environment from mmc mender_uboot_dev ${mender_uboot_boot} ...; " \
		"env import -t ${loadaddr} ${filesize}\0" \
	"mmcbootenv=run mender_setup; " \
		"echo mender_kernel_root_name ${mender_kernel_root_name} ...; " \
		"echo mender_boot_part_name ${mender_boot_part_name} ...; " \
		"setenv bootpart ${mender_uboot_root}; " \
		"mmc dev ${mender_uboot_dev}; " \
		"if mmc rescan; then " \
			"run loadbootenv && run importbootenv; " \
			"if test ${mender_kernel_root_name} = /dev/mmcblk0p2; then " \
				"run ext4bootenv2 && run importbootenv; " \
			"fi; " \
			"if test ${mender_kernel_root_name} = /dev/mmcblk0p3; then " \
				"run ext4bootenv3 && run importbootenv; " \
			"fi; " \
			"if test -n $uenvcmd; then " \
				"echo Running uenvcmd ...; " \
				"run uenvcmd; " \
			"fi; " \
		"fi\0" \
	"fdtfile=" CONFIG_DEFAULT_FDT_FILE "\0" \
	BOOTENV \
	BOOTENV_SF
测试'${mender_kernel_root_name}'是测试点,然后决定采用哪一个 uEnv 文件加载内核。在此之后,从u -boot 创建一个完整的补丁供其在 Yocto 中使用:
git diff --patch > ~/Documents/Yocto/meta-interelectronix-visionfive/recipes-bsp/u-boot/files/0004-u-boot.patch将此补丁包含在 Yocto 的“u-boot-visionfive_%.bbappend”中:
FILESEXTRAPATHS:prepend := "${THISDIR}/files:"

SRC_URI:append = " \
    file://0004-u-boot.patch \
"
对 u-boot 执行 bitbake 命令
在“u-boot-visionfive_%.bbappend”中,将“MENDER_UBOOT_AUTO_CONFIGURE = "1"”更改为“MENDER_UBOOT_AUTO_CONFIGURE = "0"”。您现在可以对 u-boot 执行 bitbake 命令,无需 mender 的自动配置功能,也不需要自定义补丁:
bitbake u-boot-visionfive编译 u-boot 用于使用第二阶段启动引导程序上传
您现在可以在“VisionFive-build/tmp/work/starfive_visionfive_jh7100-poky-linux/u-boot-visionfive/1_v2022.03-r0/git”目录中编译 u-boot,这其中包含使用“bitbake u-boot-visionfive”添加的补丁。- 如何编译 u-boot 用于 VisionFive SOC 详见 编译 u-boot 和内核
- 如何上传 u-boot 用于 VisionFive SOC 详见 附录 B:升级固件和 u-boot
对 Yocto Linux 执行 bitbake 命令
使用包含的 Mender 客户端对 Yocto Linux 执行 bitbake 命令:
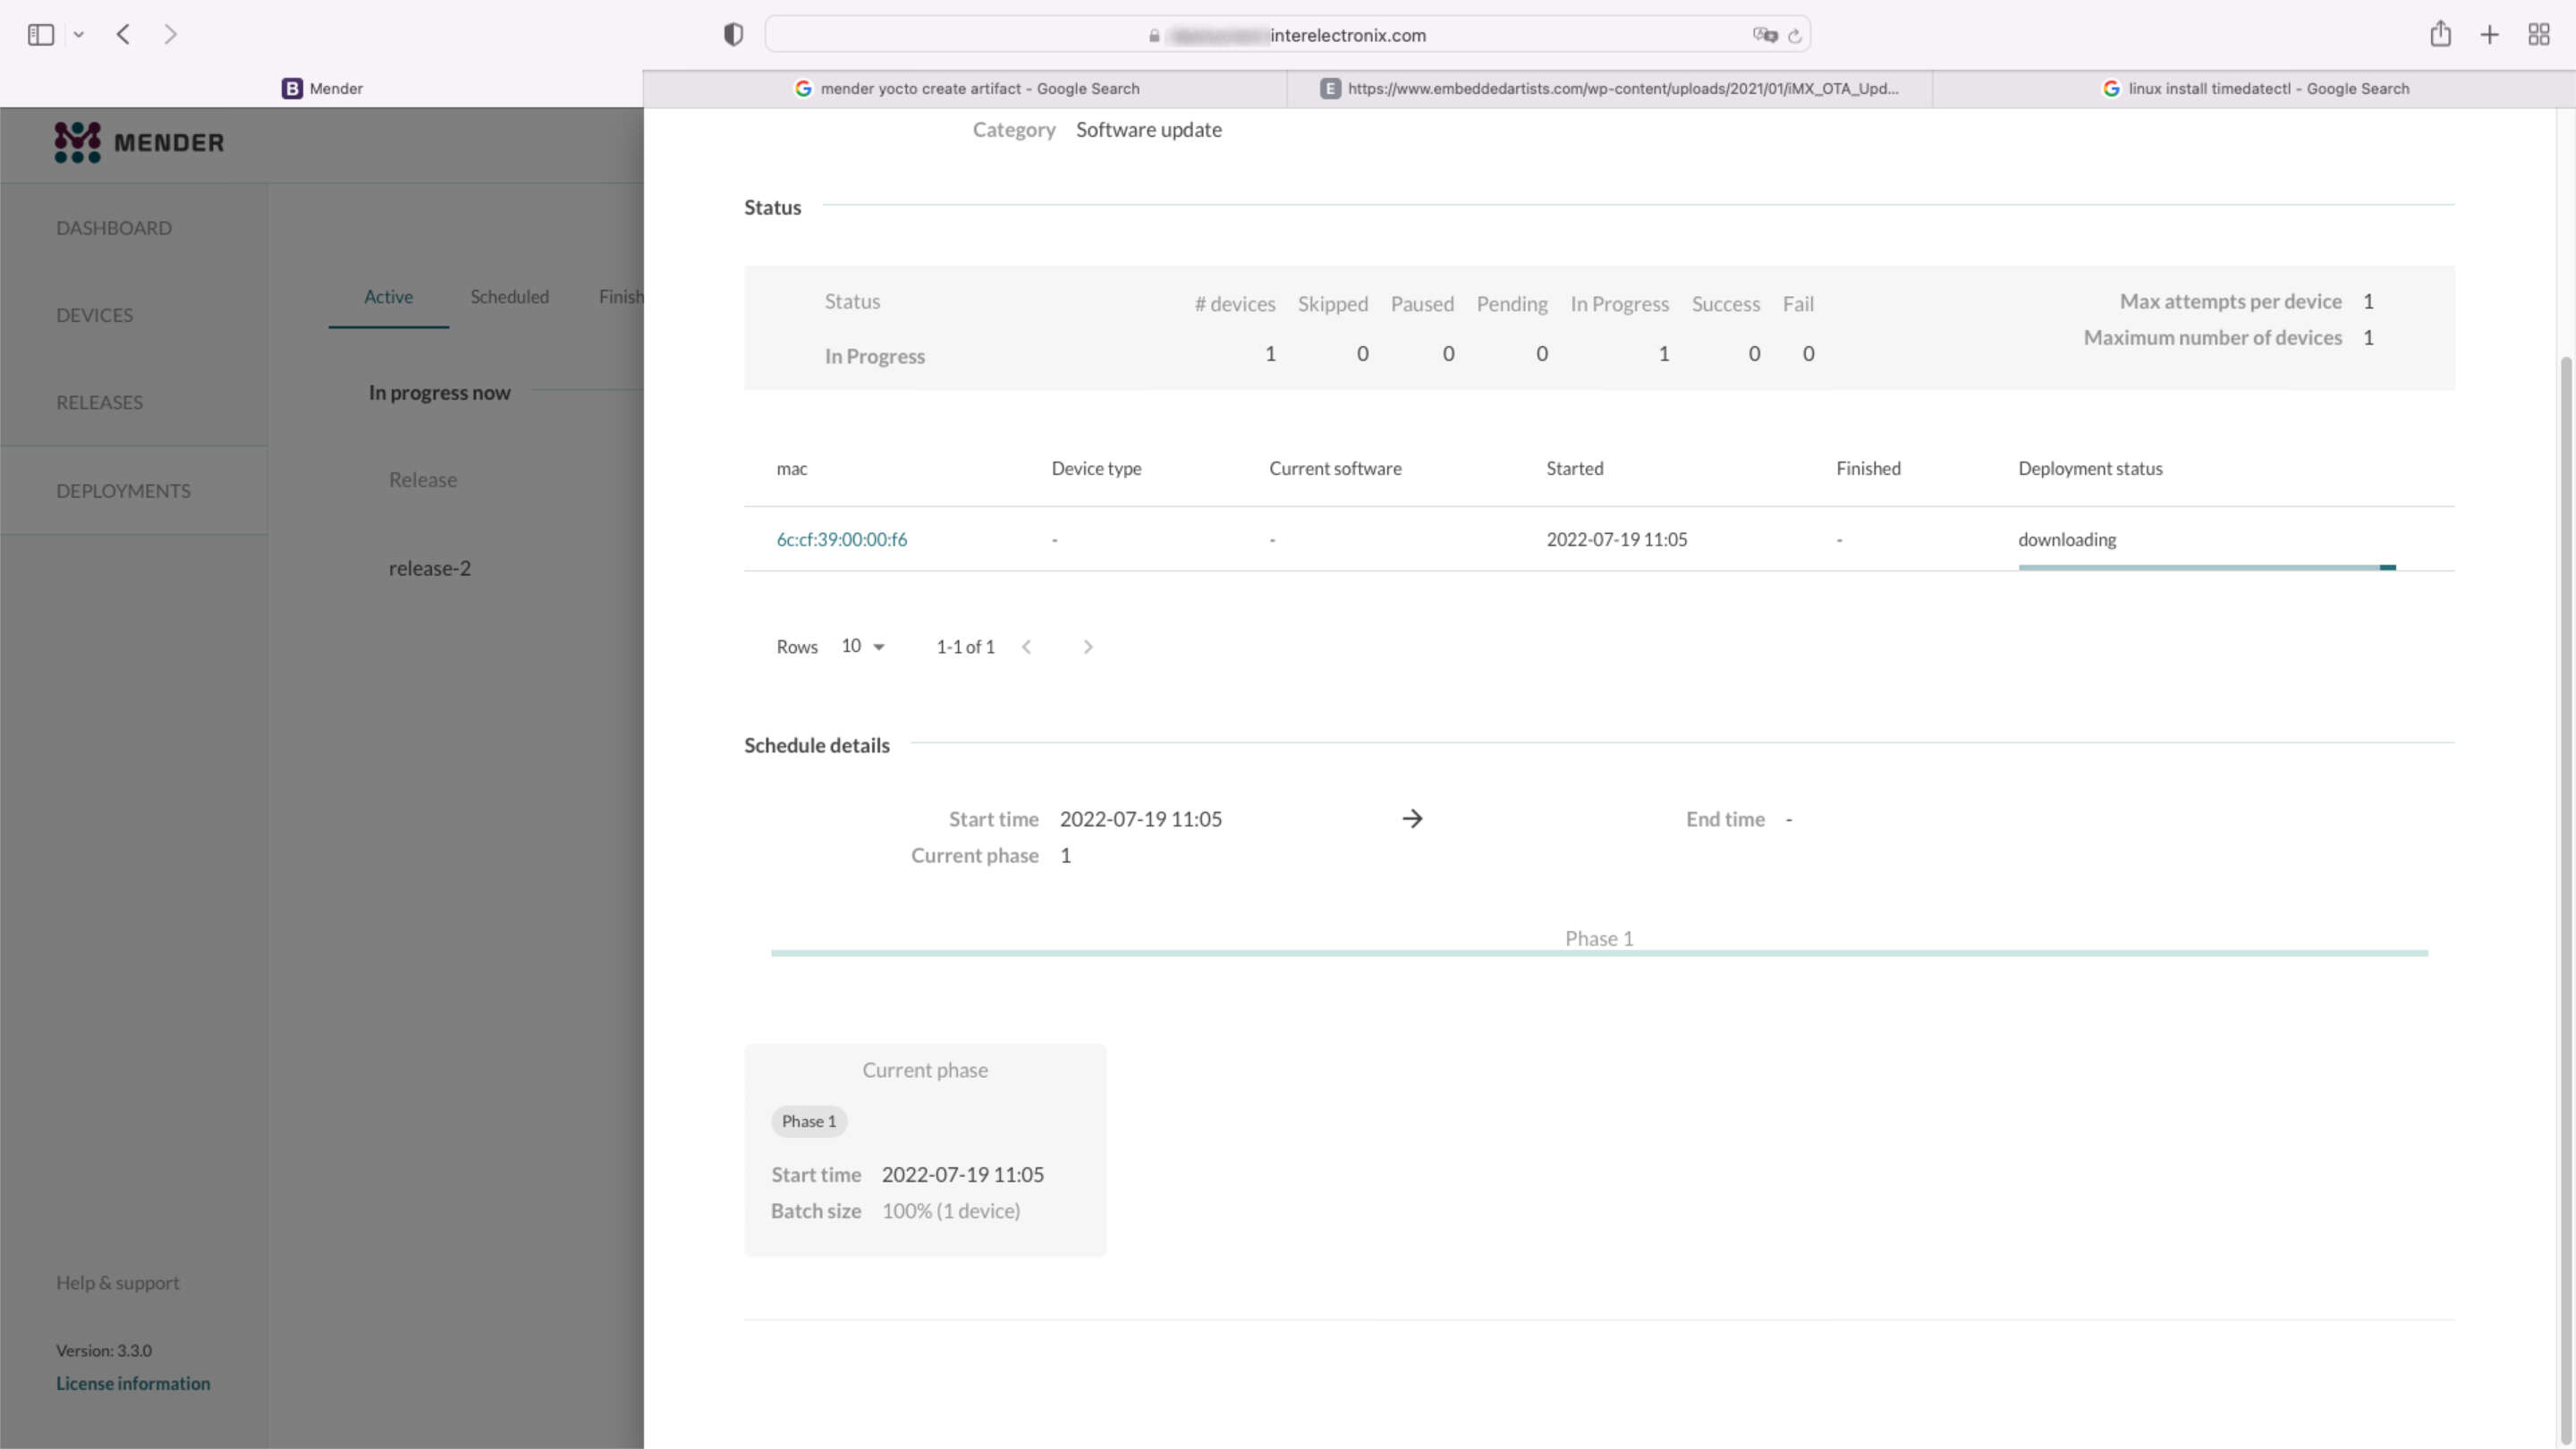
bitbake vision-five-image-mender将 Linux 镜像写入 SD 卡并启动 VisionFive SOC。如果所有操作都正常,设备将在 Mender 服务器 GUI 中显示为已挂起设备。您可以在“设备”下接受并包含它,以管理此设备后期软件更新的部署。在 VisionFive - Mender - Yocto - 第 4 部分了解如何创建 Mender 的项目。
版权许可
版权所有 © 2022 Interelectronix e.K.
本项目源代码根据 GPL-3.0 许可证获得许可。


