Configuración de Mender Yocto
Estamos utilizando la rama Yocto Kirkstone para el desarrollo. Suponemos que ya tiene un entorno de desarrollo oprtsyibo instalado y configurado como se describe en VisionFive - Mender - Yocto (parte 1).
Configuración del servidor Mender
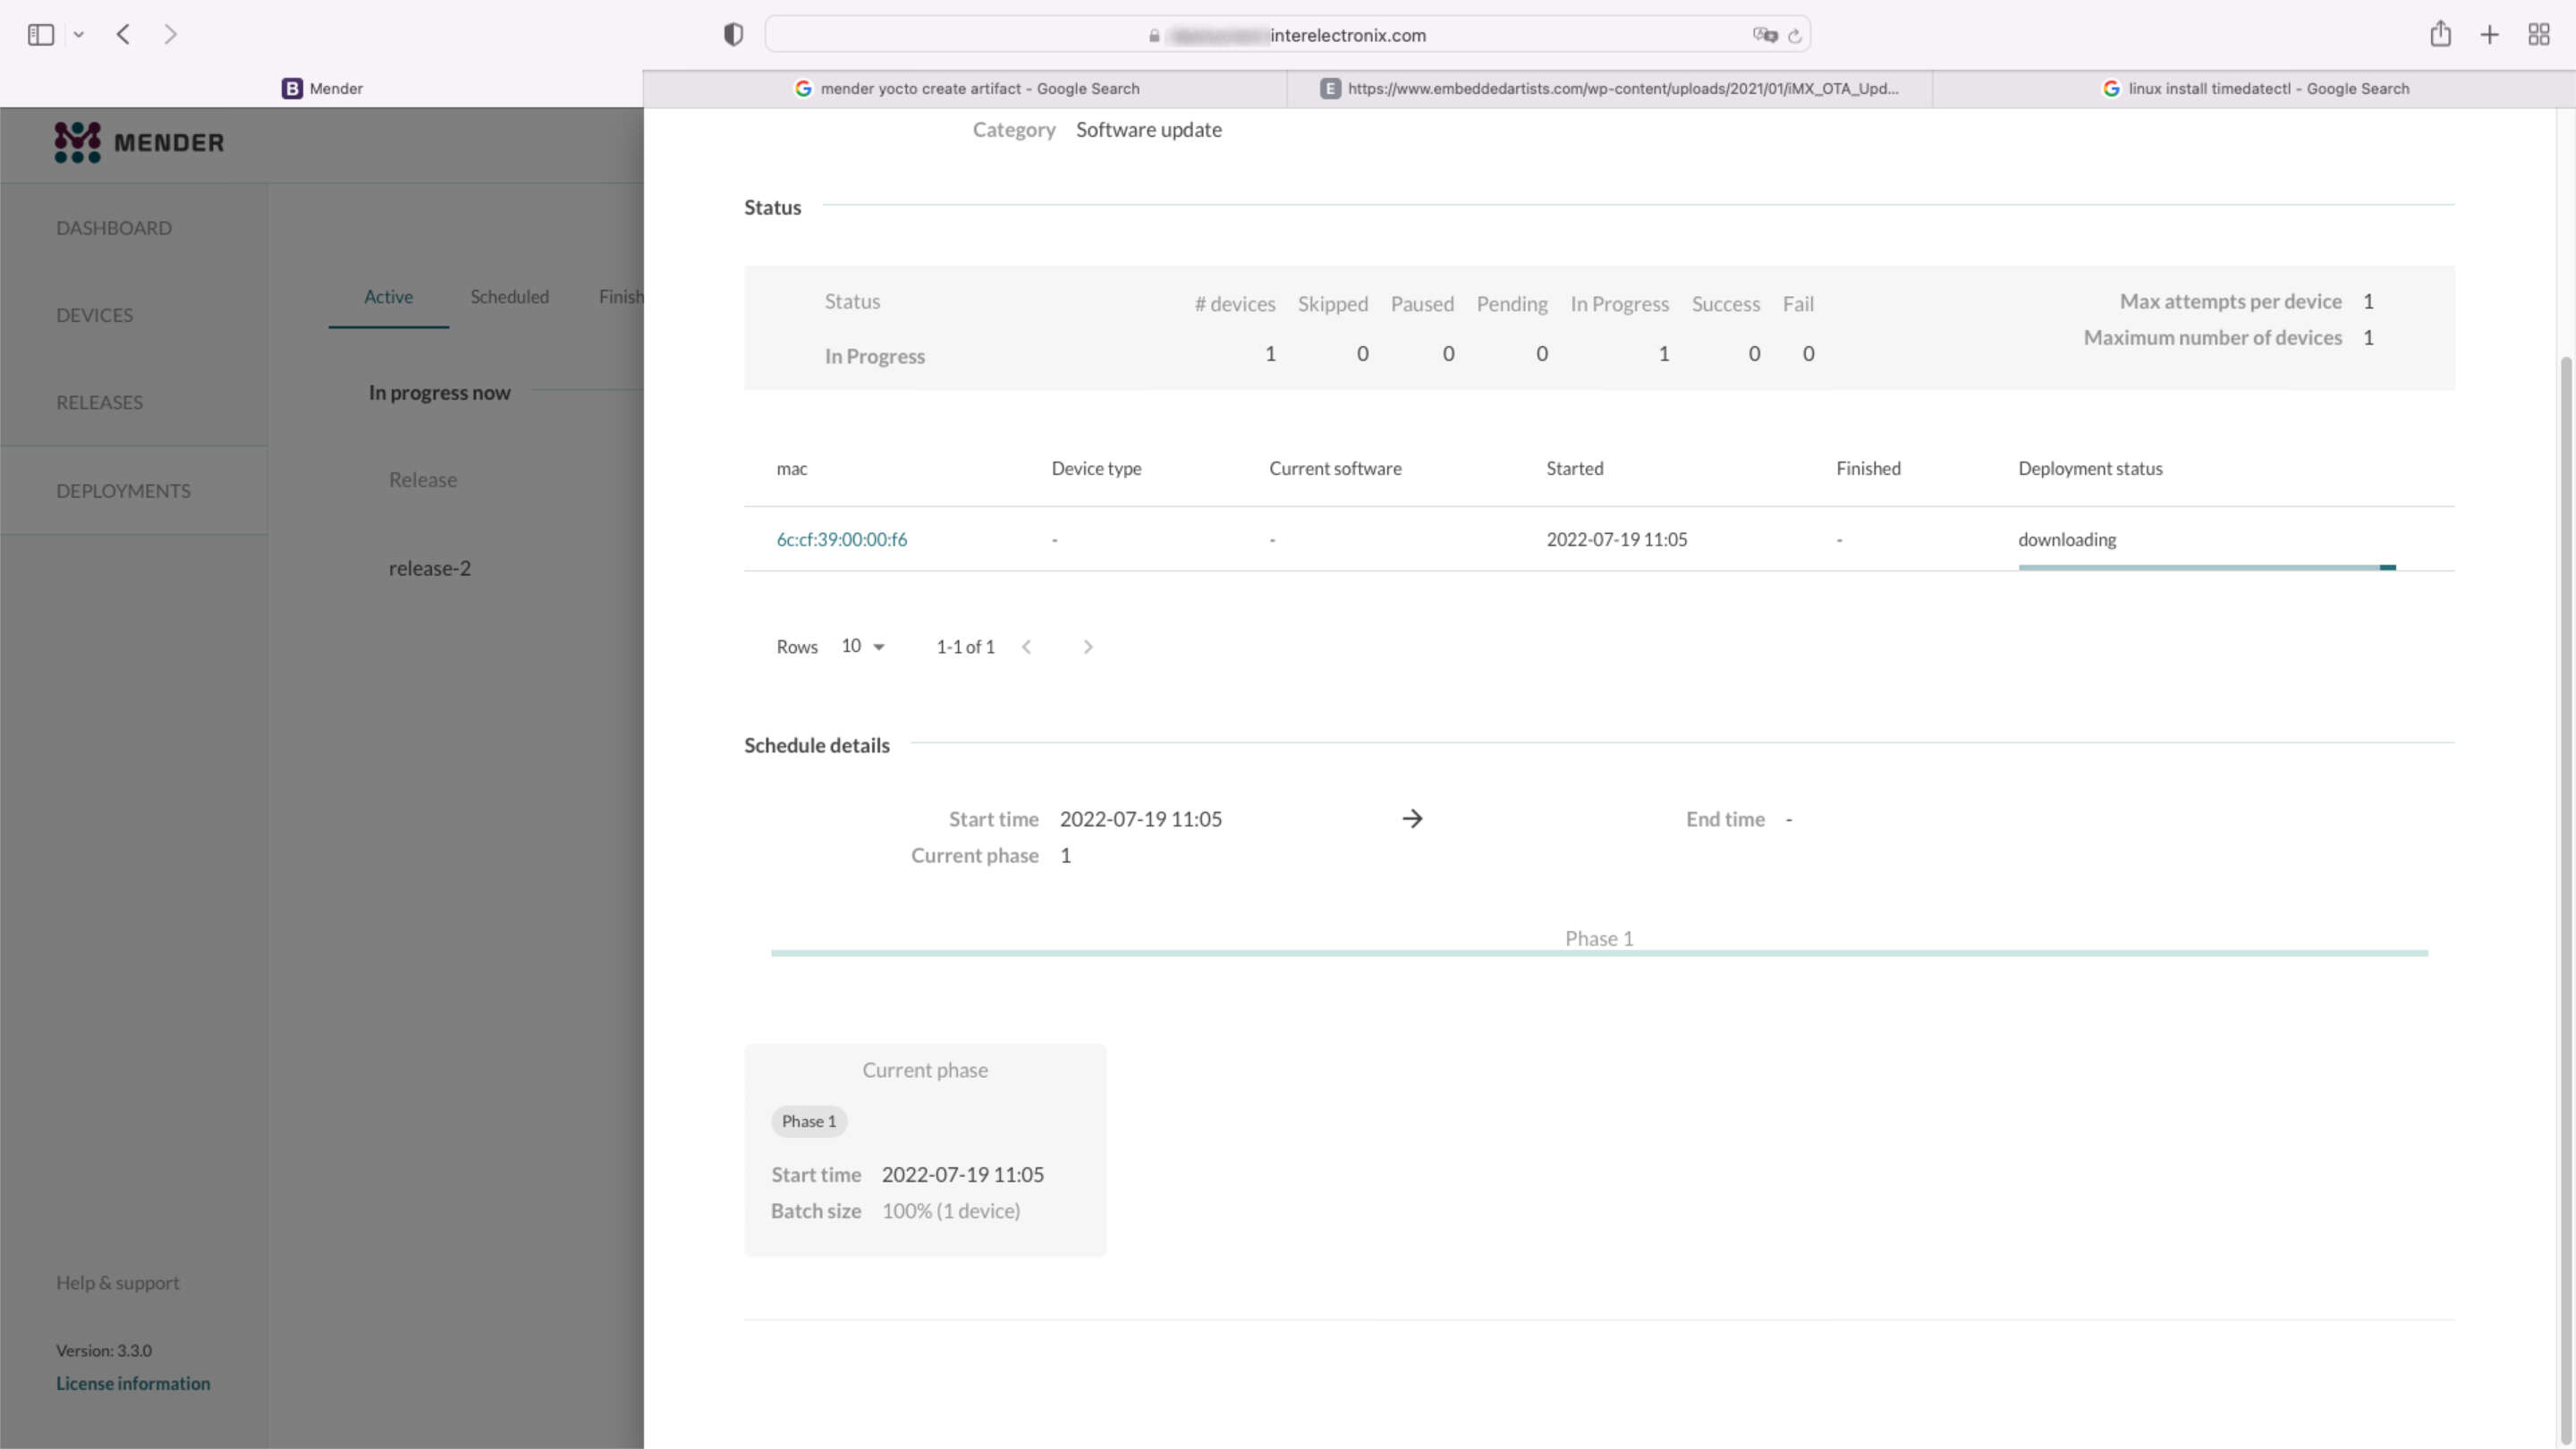
La instalación del servidor Mender no forma parte de esta serie de artículos. Para nuestro entorno de prueba, instalamos el servidor Mender utilizando el tutorial de instalación con docker-compose como se describe en Instalación con Docker Compose.
Nota
Desviándonos del tutorial, utilizamos nuestro certificado de CA comodín personalizado. Si quiere hacerlo, debe copiar su clave pública y privada a '/mender-server/production/keys-generated/cert' antes de ejecutar el comando './run up -d'.
Antes de continuar, debería poder iniciar sesión en el servidor Mender sin recibir ningún mensaje de error.
Clonar meta-mender
Acceda a su directorio poky (en mi caso poky-kirkstone) y clone el repositorio meta-mender. Como todavía no hay una rama Kirkstone, debe clonar la rama 'master-next'.
cd poky-kirkstone
git clone -b master-next https://github.com/mendersoftware/meta-mender.git
local.conf y bblayers.conf
Copie bblayers.conf.sample-mender y local.conf.sample-mender del directorio meta-interelectronix-visionfive en el directorio conf y cámbiele el nombre a bblayers.conf y local.conf:
cp ../poky-kirkstone/meta-interelectronix-visionfive/conf/bblayers.conf.sample-mender conf/bblayers.conf
cp ../poky-kirkstone/meta-interelectronix-visionfive/conf/local.conf.sample-mender conf/local.conf
En el archivo bblayers.conf, debe ajustar la ruta al directorio poky-kirkstone. Elimine también la línea '/workdir/poky-kirkstone/meta-interelectronix ' (solo es necesario para nuestra personalización psplash).
Los parámetros importantes en local.conf son:
# mender settings
# The name of the disk image and Artifact that will be built.
# This is what the device will report that it is running, and different updates must have different names
# because Mender will skip installation of an Artifact if it is already installed.
MENDER_ARTIFACT_NAME = "release-1"

INHERIT += "mender-full"

# The version of Mender to build. This needs to match an existing recipe in the meta-mender repository.
#
# Given your Yocto Project version, see which versions of Mender you can currently build here:
# https://docs.mender.io/overview/compatibility#mender-client-and-yocto-project-version
#
# Given a Mender client version, see the corresponding version of the mender-artifact utility:
# https://docs.mender.io/overview/compatibility#mender-clientserver-and-artifact-format
#
# By default this will select the latest version of the tools that is backwards compatible with the
# given Yocto branch.
# If you need an earlier version, or a later version even though it may not be backwards compatible,
# please uncomment the following and set to the required version. If you want to use the bleeding
# edge version, specify "master-git%", but keep in mind that these versions may not be stable:
#
# PREFERRED_VERSION_mender-client = "3.3.0"
# PREFERRED_VERSION_mender-artifact = "3.8.0"
# PREFERRED_VERSION_mender-artifact-native = "3.8.0"
# PREFERRED_VERSION_mender-connect = "2.0.1"

# The following settings to enable systemd are needed for all Yocto
# releases sumo and older.  Newer releases have these settings conditionally
# based on the MENDER_FEATURES settings and the inherit of mender-full above.
DISTRO_FEATURES:append = " systemd"
VIRTUAL-RUNTIME:init_manager = "systemd"
DISTRO_FEATURES_BACKFILL_CONSIDERED = "sysvinit"
VIRTUAL-RUNTIME_initscripts = ""

ARTIFACTIMG_FSTYPE = "ext4"

# Example: Memory card storage
MENDER_STORAGE_DEVICE = "/dev/mmcblk0"
# Example: Memory card with 2GiB of storage.
#MENDER_STORAGE_TOTAL_SIZE_MB = "29476"
#MENDER_STORAGE_TOTAL_SIZE_MB = "14738"
MENDER_STORAGE_TOTAL_SIZE_MB = "7369"

MENDER_UBOOT_STORAGE_INTERFACE = "mmc"
MENDER_UBOOT_STORAGE_DEVICE = "0"

MENDER_BOOT_PART = "${MENDER_STORAGE_DEVICE_BASE}1"
MENDER_DATA_PART = "${MENDER_STORAGE_DEVICE_BASE}4"
MENDER_ROOTFS_PART_A = "${MENDER_STORAGE_DEVICE_BASE}2"
MENDER_ROOTFS_PART_B = "${MENDER_STORAGE_DEVICE_BASE}3"

MENDER_FEATURES_ENABLE:append = " mender-uboot mender-image-sd"
MENDER_FEATURES_DISABLE:append = " mender-grub mender-image-uefi"

MACHINE_ESSENTIAL_EXTRA_RDEPENDS:append = " kernel-image kernel-devicetree"

PREFERRED_VERSION:mender-client = "3.3.0"
Personalizar meta-starfive-bsp
Debe crear una rama de meta-starfive-bsp para añadir la configuración necesaria para la configuración de Mender.
Las personalizaciones son necesarias en:
- conf/machine/starfive-visionfive-jh7100.conf: elimine o comente estas dos líneas
UBOOT_ENV ?= "uEnv"
UBOOT_ENV_SUFFIX = "txt"- recipes-bsp/bootfiles/files/uEnv.txt: reemplace la siguiente línea para incluir las variables Mender durante el arranque
bootcmd=load mmc 0:1 ${kernel_addr_r} @IMAGETYPE@; load mmc 0:1 ${fdt_addr_r} jh7100-starfive-visionfive-v1.dtb; setenv bootargs 'root=${mender_kernel_root} rw rootfstype=ext4 rootwait earlycon console=ttyS0,115200n8'; booti ${kernel_addr_r} - ${fdt_addr_r}- recipes-bsp/u-boot/u-boot-visionfive_v2022.03.bb: añada las siguientes líneas para indicar a tell meta-mender que se está utilizando un u-boot personalizado
require recipes-bsp/u-boot/u-boot-mender.inc

PROVIDES += "u-boot"
RPROVIDES_${PN} += "u-boot"

BOOT_FILES:append = " uEnv.txt"
Recetas en meta-interelectronix-visionfive
Algunos parámetros y variables deben definirse en la metacapa personalizada, de igual forma que en meta-interelectronix-visionfive.
- recipes-mender/mender-client/mender-client_%.bbappend: añada la URL del servidor Mender
MENDER_SERVER_URL = "https://mender.interelectronix.com"- recipes-bsp/u-boot/u-boot-visionfive_%.bbappend: añada las siguientes líneas
MENDER_UBOOT_AUTO_CONFIGURE = "1"
BOOTENV_SIZE = "0x20000"
recipes-bsp/u-boot-env/*: añada esta receta del archivo comprimido descargado. Contiene dos archivos uEnv, que se utilizan en el sistema de archivos raíz. uEnv_visionfive.txt se utiliza en rootfs, cuando se arranca desde la partición A y uEnv_visionfive3.txt se utiliza cuando se arranca desde la partición B.
recipes-core/images/vision-five-image-mender.bb: coja esta receta de imagen o añada 'u-boot-env' a su receta de imagen
IMAGE_INSTALL:append = " v4l-utils u-boot-env"Importante
Antes de poder ejecutar bitbake en su imagen, debe personalizar u-boot como se describe en la siguiente parte de la serie de artículos.
Descubra cómo configurar u-boot para Mender en VisionFive - Mender - Yocto (parte 3).
Licencia de copyright
Copyright© 2022 Interelectronix e.K.
El código fuente de este Proyecto está autorizado en virtud de la licencia GPL-3.0.

Parte 1 de una serie de artículos: Cómo configurar un entorno Yocto para crear un Linux Yocto con la integración de un cliente Mender.

Parte 4 de una serie de artículos: Cómo configurar un entorno Yocto para crear un Linux Yocto con la integración de un cliente Mender.

Parte 3 de una serie de artículos: Cómo configurar un entorno Yocto para crear un Linux Yocto con la integración de un cliente Mender.

