Configuration de Mender Yocto
Nous utilisons la branche Yocto Kirkstone pour le développement. Nous supposons que vous avez déjà un environnement de développement de travail installé et configuré votre environnement comme décrit dans VisionFive - Mender - Yocto - Partie 1.#### Configuration du serveur Mender
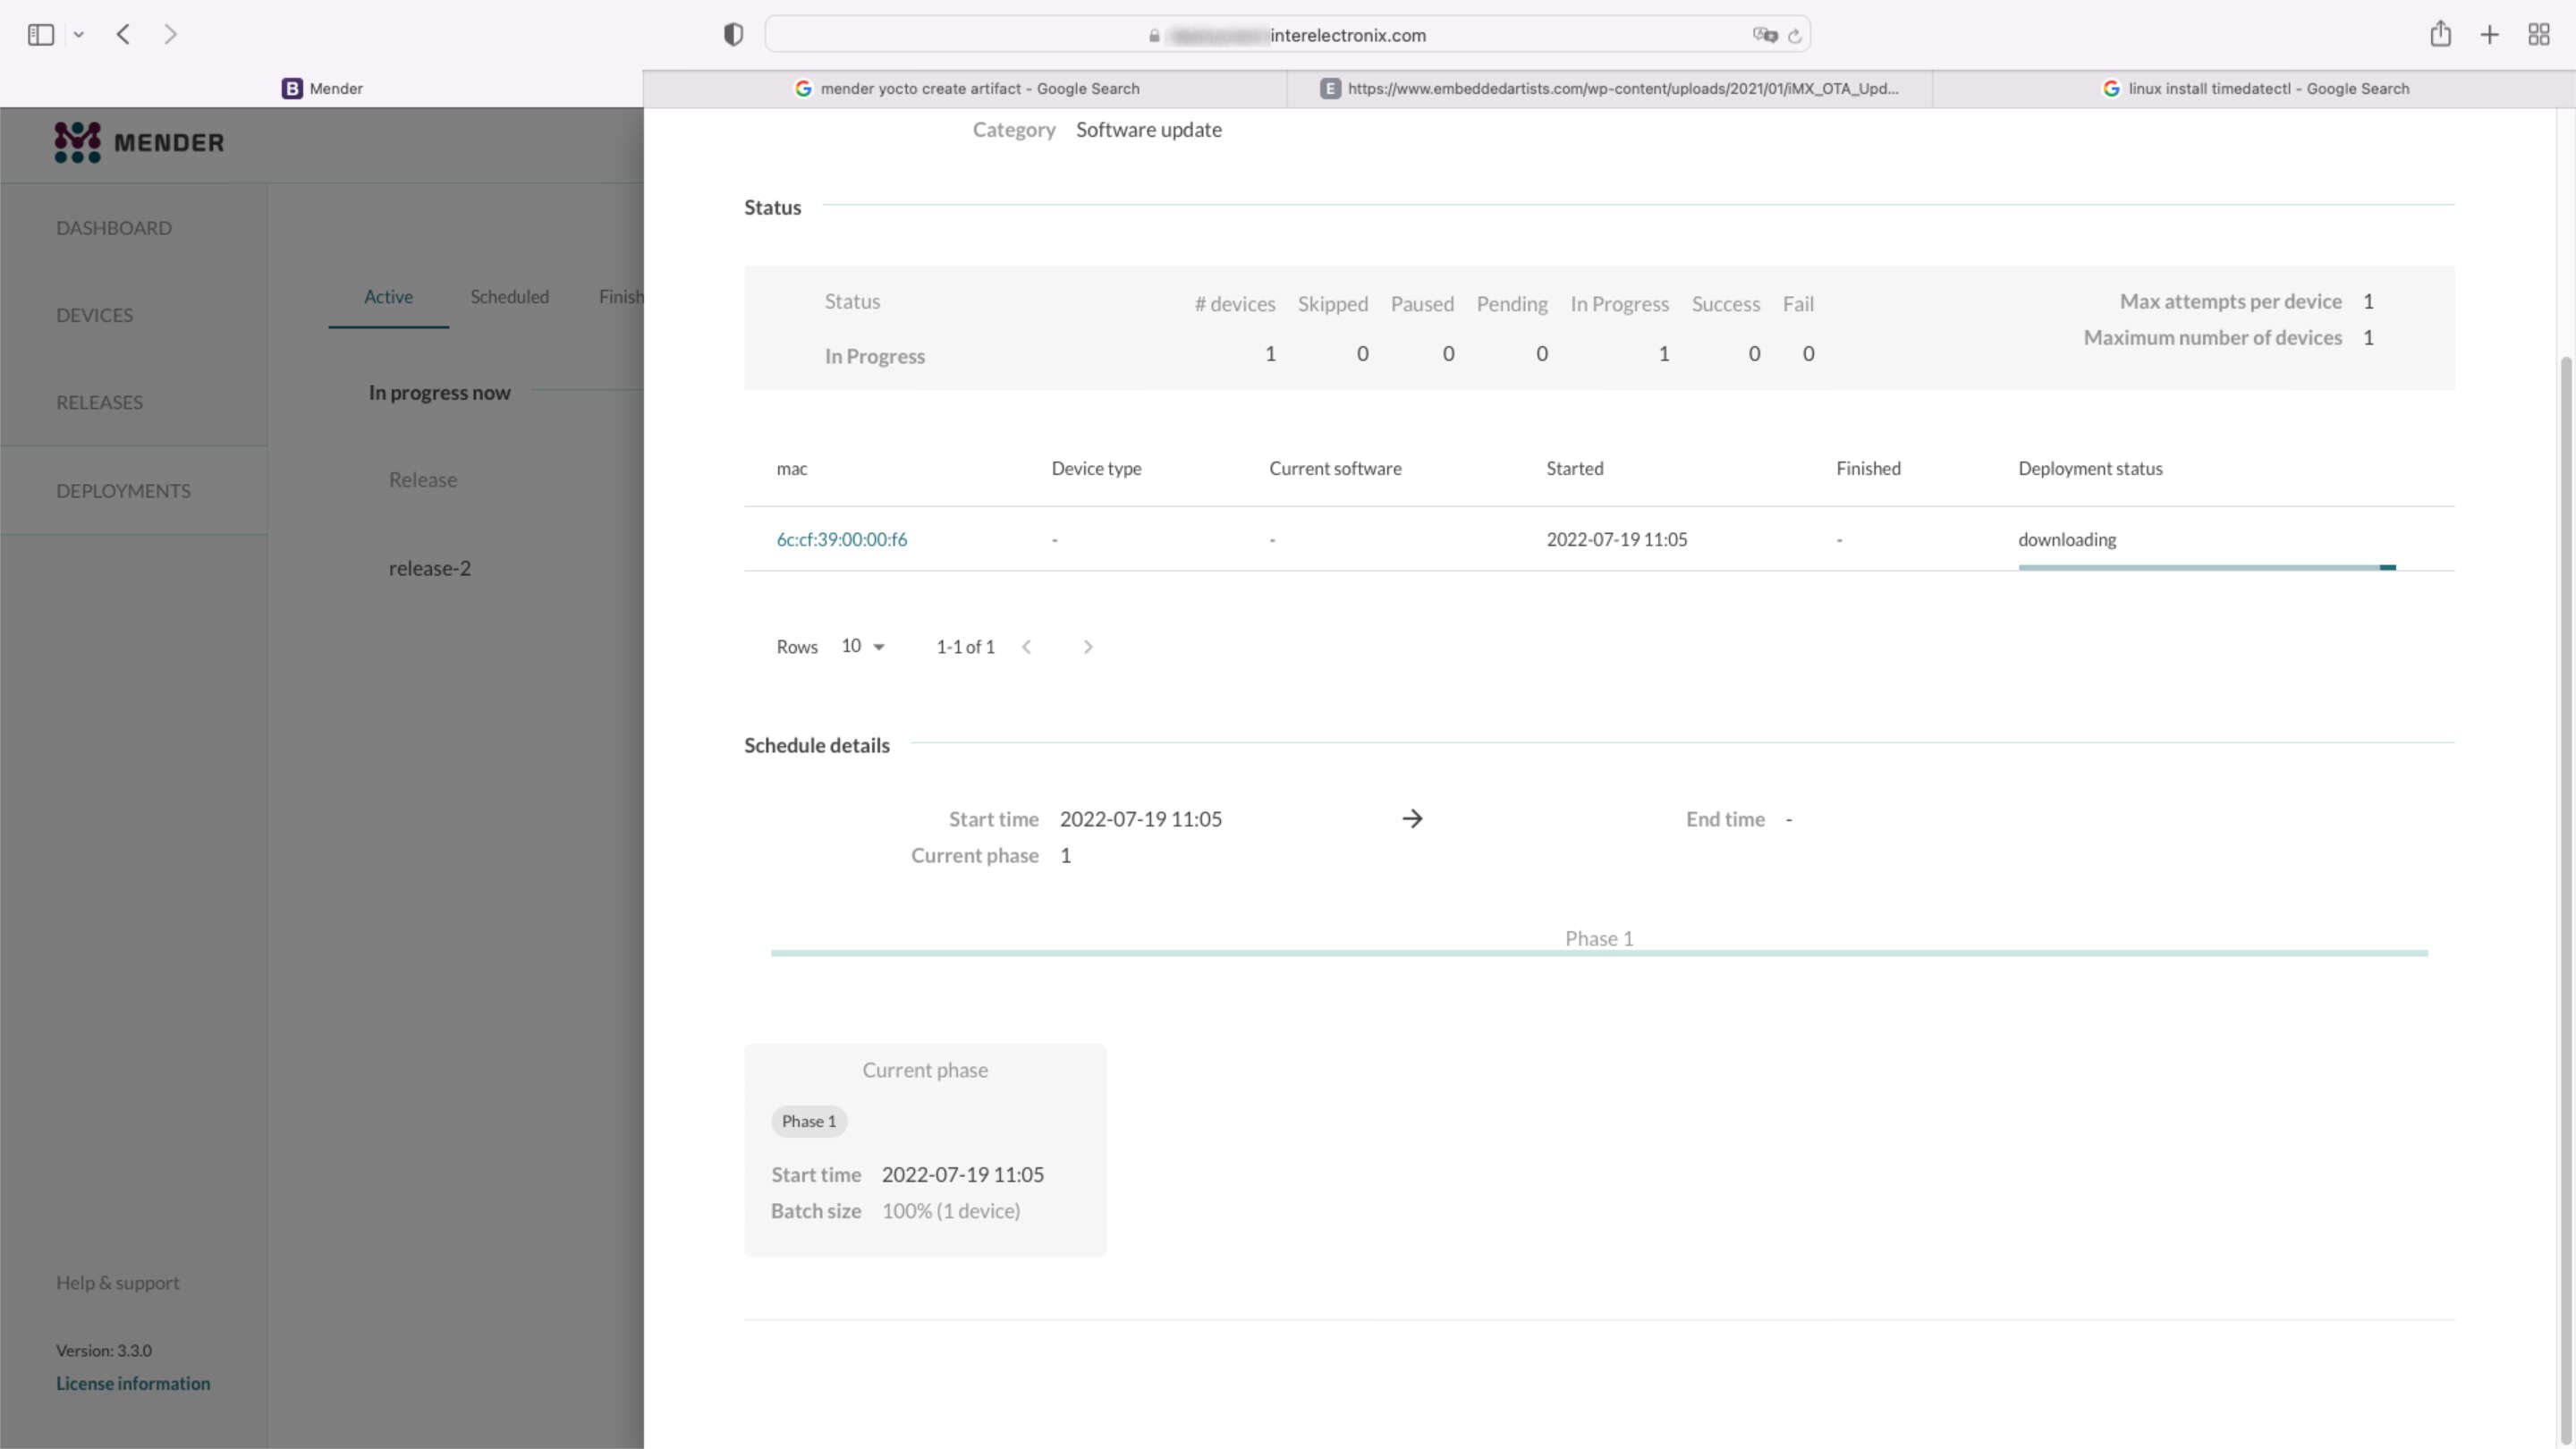
L'installation du serveur Mender ne fait pas partie de cette série d'articles. Pour notre environnement de test, nous avons installé le serveur Mender en utilisant le tutoriel d'installation avec docker-compose comme décrit dans Installation avec Docker Compose.
Remarque
Déviant au tutoriel, nous utilisons notre certificat CA joker personnalisé. Si vous voulez le faire, vous devez copier votre clé publique et privée dans '/mender-server/production/keys-generated/cert' avant d'exécuter la commande './run up -d'.
Avant de continuer, vous devriez être en mesure de vous connecter au serveur Mender sans recevoir de messages d'erreur.
Clone meta-mender
Accédez à votre répertoire poky - dans mon cas poky-kirkstone - et clonez le référentiel meta-mender. Comme il n'y a pas encore de branche Kirkstone, vous devez cloner la branche 'master-next'.
cd poky-kirkstone
git clone -b master-next https://github.com/mendersoftware/meta-mender.git
local.conf et bblayers.conf
Copiez bblayers.conf.sample-mender et local.conf.sample-mender du répertoire meta-interelectronix-visionfive dans le répertoire conf et renommez-le bblayers.conf et local.conf :
cp ../poky-kirkstone/meta-interelectronix-visionfive/conf/bblayers.conf.sample-mender conf/bblayers.conf
cp ../poky-kirkstone/meta-interelectronix-visionfive/conf/local.conf.sample-mender conf/local.conf
Dans le fichier bblayers.conf, vous devez ajuster le chemin vers votre répertoire poky-kirkstone. Supprimez également la ligne '/workdir/poky-kirkstone/meta-interelectronix ' - elle n'est nécessaire que pour notre personnalisation psplash.
Les paramètres importants de local.conf sont :
# mender settings
# The name of the disk image and Artifact that will be built.
# This is what the device will report that it is running, and different updates must have different names
# because Mender will skip installation of an Artifact if it is already installed.
MENDER_ARTIFACT_NAME = "release-1"

INHERIT += "mender-full"

# The version of Mender to build. This needs to match an existing recipe in the meta-mender repository.
#
# Given your Yocto Project version, see which versions of Mender you can currently build here:
# https://docs.mender.io/overview/compatibility#mender-client-and-yocto-project-version
#
# Given a Mender client version, see the corresponding version of the mender-artifact utility:
# https://docs.mender.io/overview/compatibility#mender-clientserver-and-artifact-format
#
# By default this will select the latest version of the tools that is backwards compatible with the
# given Yocto branch.
# If you need an earlier version, or a later version even though it may not be backwards compatible,
# please uncomment the following and set to the required version. If you want to use the bleeding
# edge version, specify "master-git%", but keep in mind that these versions may not be stable:
#
# PREFERRED_VERSION_mender-client = "3.3.0"
# PREFERRED_VERSION_mender-artifact = "3.8.0"
# PREFERRED_VERSION_mender-artifact-native = "3.8.0"
# PREFERRED_VERSION_mender-connect = "2.0.1"

# The following settings to enable systemd are needed for all Yocto
# releases sumo and older.  Newer releases have these settings conditionally
# based on the MENDER_FEATURES settings and the inherit of mender-full above.
DISTRO_FEATURES:append = " systemd"
VIRTUAL-RUNTIME:init_manager = "systemd"
DISTRO_FEATURES_BACKFILL_CONSIDERED = "sysvinit"
VIRTUAL-RUNTIME_initscripts = ""

ARTIFACTIMG_FSTYPE = "ext4"

# Example: Memory card storage
MENDER_STORAGE_DEVICE = "/dev/mmcblk0"
# Example: Memory card with 2GiB of storage.
#MENDER_STORAGE_TOTAL_SIZE_MB = "29476"
#MENDER_STORAGE_TOTAL_SIZE_MB = "14738"
MENDER_STORAGE_TOTAL_SIZE_MB = "7369"

MENDER_UBOOT_STORAGE_INTERFACE = "mmc"
MENDER_UBOOT_STORAGE_DEVICE = "0"

MENDER_BOOT_PART = "${MENDER_STORAGE_DEVICE_BASE}1"
MENDER_DATA_PART = "${MENDER_STORAGE_DEVICE_BASE}4"
MENDER_ROOTFS_PART_A = "${MENDER_STORAGE_DEVICE_BASE}2"
MENDER_ROOTFS_PART_B = "${MENDER_STORAGE_DEVICE_BASE}3"

MENDER_FEATURES_ENABLE:append = " mender-uboot mender-image-sd"
MENDER_FEATURES_DISABLE:append = " mender-grub mender-image-uefi"

MACHINE_ESSENTIAL_EXTRA_RDEPENDS:append = " kernel-image kernel-devicetree"

PREFERRED_VERSION:mender-client = "3.3.0"
Personnaliser meta-starfive-bsp
Vous devez créer une branche de meta-starfive-bsp pour ajouter les paramètres nécessaires à la configuration de Mender.
Des personnalisations sont nécessaires dans :
- conf/machine/starfive-visionfive-jh7100.conf : Supprimez ou commentez ces deux lignes
UBOOT_ENV ?= "uEnv"
UBOOT_ENV_SUFFIX = "txt"- recipes-bsp/bootfiles/files/uEnv.txt : Remplacez la ligne suivante pour inclure les variables Mender lors du démarrage
bootcmd=load mmc 0:1 ${kernel_addr_r} @IMAGETYPE@; load mmc 0:1 ${fdt_addr_r} jh7100-starfive-visionfive-v1.dtb; setenv bootargs 'root=${mender_kernel_root} rw rootfstype=ext4 rootwait earlycon console=ttyS0,115200n8'; booti ${kernel_addr_r} - ${fdt_addr_r}- recipes-bsp/u-boot/u-boot-visionfive_v2022.03.bb : Ajoutez les lignes suivantes pour indiquer à meta-mender qu'un u-boot personnalisé est utilisé
require recipes-bsp/u-boot/u-boot-mender.inc

PROVIDES += "u-boot"
RPROVIDES_${PN} += "u-boot"

BOOT_FILES:append = " uEnv.txt"
Recettes dans meta-interelectronix-visionfive
Certains paramètres et variables doivent être définis dans la méta-couche personnalisée, comme nous le faisons dans la méta-interelectronix-visionfive.
- recipes-mender/mender-client/mender-client_%.bbappend: Ajoutez l'URL du serveur Mender
MENDER_SERVER_URL = "https://mender.interelectronix.com"- recettes-bsp/u-boot/u-boot-visionfive_%.bbappend : Ajoutez les lignes suivantes
MENDER_UBOOT_AUTO_CONFIGURE = "1"
BOOTENV_SIZE = "0x20000"
recipes-bsp/u-boot-env/* : Ajoutez cette recette à partir du fichier zip téléchargé. Il contient deux fichiers uEnv, qui sont utilisés dans le système de fichiers racine. uEnv_visionfive.txt est utilisé dans rootfs, lors du démarrage à partir de la partition A et uEnv_visionfive3.txt est utilisé lors du démarrage à partir de la partition B.
recettes-core/images/vision-five-image-mender.bb : Prenez cette recette d'image ou ajoutez 'u-boot-env' à votre recette d'image
IMAGE_INSTALL:append = " v4l-utils u-boot-env"Important
Avant de pouvoir bitbake votre image, vous devez personnaliser u-boot comme décrit dans la partie suivante de la série d'articles.
Découvrez comment configurer u-boot pour Mender dans VisionFive - Mender - Yocto - Partie 3.
Licence de copyright
Copyright © 2022 Interelectronix e.K.
Le code source de ce projet est sous licence GPL-3.0.

Partie 1 d'une série d'articles, comment configurer un environnement Yocto pour créer un Yocto Linux avec l'intégration d'un client Mender.

Partie 4 d'une série d'articles, comment configurer un environnement Yocto pour créer un Yocto Linux avec l'intégration d'un client Mender.

Partie 3 d'une série d'articles, comment configurer un environnement Yocto pour créer un Yocto Linux avec l'intégration d'un client Mender.

