Mender Yocto کا سیٹ اپ
ہم پیش رفت کے لیے Yocto Kirkstone برانچ استعمال کر رہے ہیں۔ ہم فرض کرتے ہیں کہ آپ کے پاس پہلے سے کام کرنے والا پیش رفت کا ماحول انسٹال ہے اور جیسا کہ VisionFive - Mender - Yocto - حصہ 1 میں بتایا گیا ہے، اپنا ماحول سیٹ اپ کریں۔
Mender سرور کا سیٹ اپ
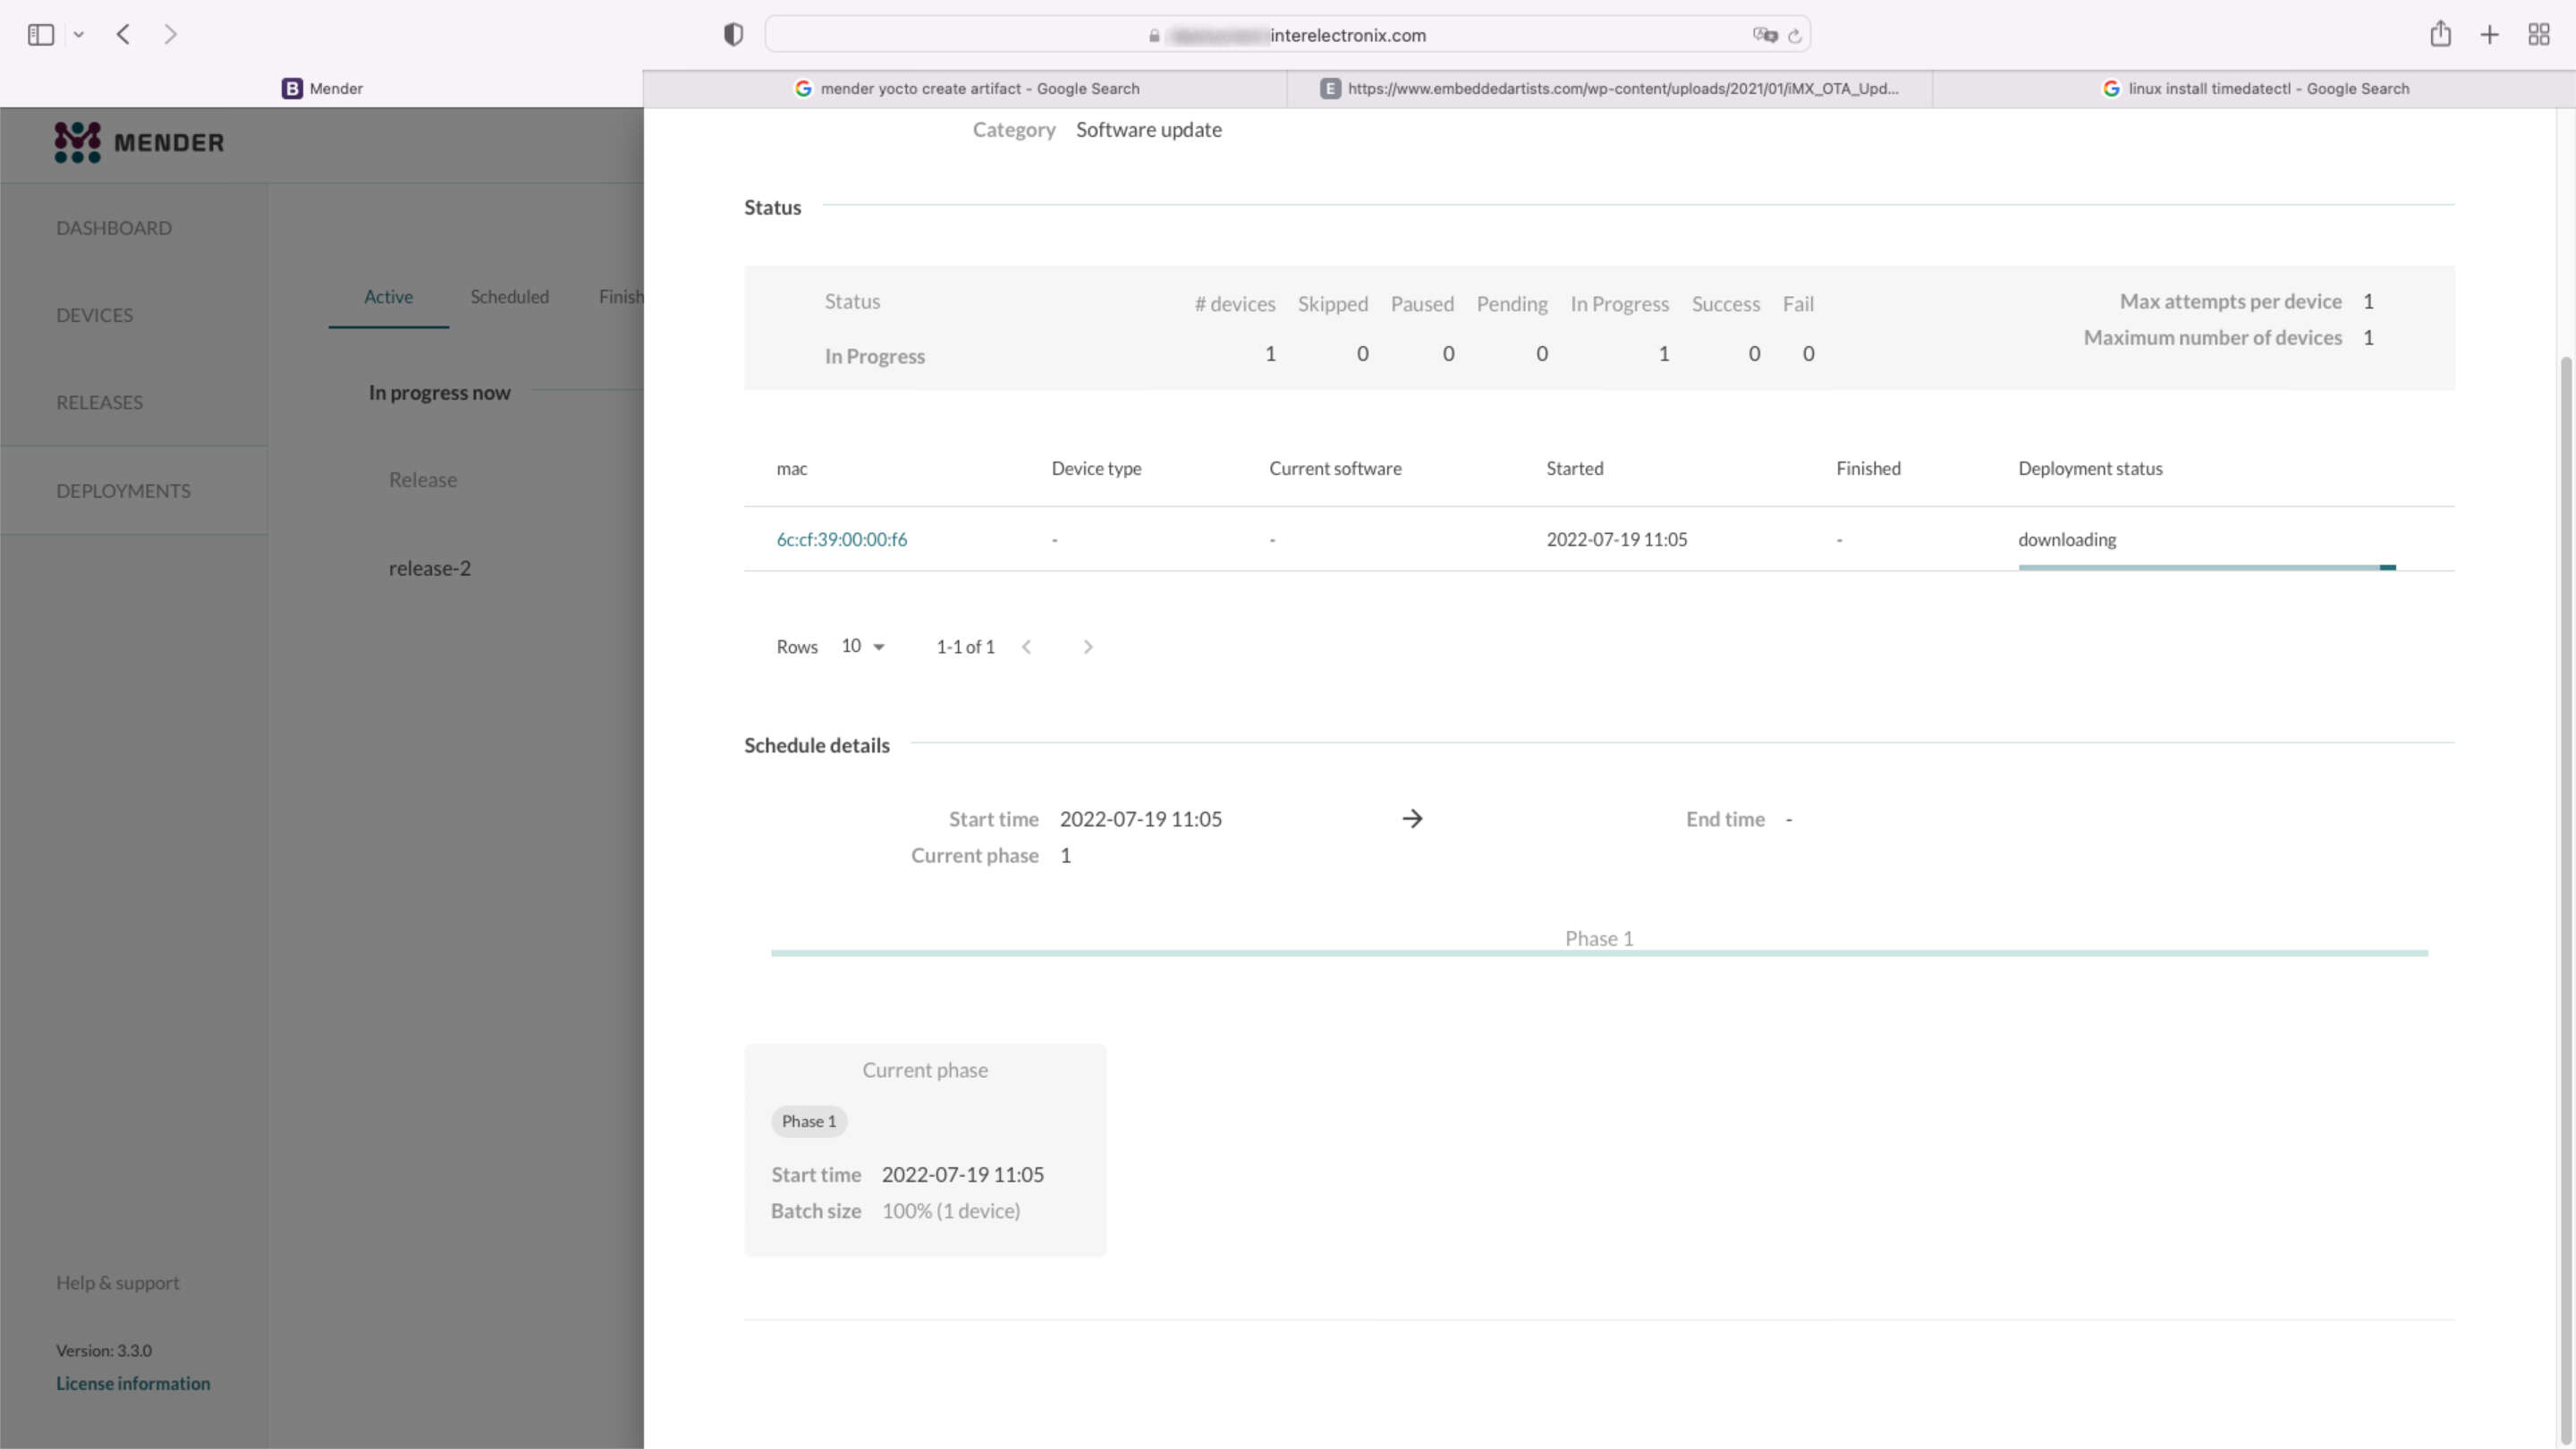
Mender سرور کی انسٹالیشن مضامین کے اس سلسلے کا حصہ نہیں ہے۔ اپنے جانچ کے ماحول کے لیے، ہم نے ڈوکر کمپوز کے ساتھ انسٹالیشن ٹیوٹوریل کا استعمال کرتے ہوئے Mender سرور انسٹال کیا ہے جیسا کہ ڈوکر کمپوز کے ساتھ انسٹالیشن میں بتایا گیا ہے۔
نوٹ
ٹیوٹوریل سے ماوراء، ہم اپنا حسب ضرورت وائلڈ کارڈ CA سرٹیفکیٹ استعمال کرتے ہیں۔ اگر آپ ایسا کرنا چاہتے ہیں، تو './run up -d' کمانڈ چلانے سے پہلے آپ کو اپنی پبلک اور نجی کی کو '/mender-server/production/keys-generated/cert' پر کاپی کرنا ہو گا۔
جاری رکھنے سے پہلے، آپ کو بغیر کسی خامی کے پیغامات کے Mender سرور میں لاگ ان کرنے کے قابل ہونا چاہیے۔
meta-mender کو کلون کریں
اپنی poky ڈائرکٹری پر جائیں - میرے معاملے میں poky-kirkstone - اور meta-mender ریپوزٹری کو کلون کریں۔ چونکہ ابھی تک Kirkstone کی کوئی برانچ نہیں ہے، اس لیے آپ کو 'master-next' برانچ کا کلون بنانا ہو گا۔
cd poky-kirkstone
git clone -b master-next https://github.com/mendersoftware/meta-mender.git
local.conf اور bblayers.conf
meta-interelectronix-visionfive ڈائریکٹری سے bblayers.conf.sample-mender اور local.conf.sample-mender کو conf ڈائریکٹری میں کاپی کریں اور اسے bblayers.conf اور local.conf کا نام دیں:
cp ../poky-kirkstone/meta-interelectronix-visionfive/conf/bblayers.conf.sample-mender conf/bblayers.conf
cp ../poky-kirkstone/meta-interelectronix-visionfive/conf/local.conf.sample-mender conf/local.conf
bblayers.conf فائل میں، آپ کو اپنی poky-kirkstone ڈائریکٹری کا پاتھ ایڈجسٹ کرنا ہو گا۔ لائن '/workdir/poky-kirkstone/meta-interelectronix ' کو بھی حذف کریں - یہ صرف ہمارے psplash حسب ضرورت بنانے کے لیے ضروری ہے۔
local.conf میں اہم ترتیبات یہ ہیں:
# mender settings
# The name of the disk image and Artifact that will be built.
# This is what the device will report that it is running, and different updates must have different names
# because Mender will skip installation of an Artifact if it is already installed.
MENDER_ARTIFACT_NAME = "release-1"

INHERIT += "mender-full"

# The version of Mender to build. This needs to match an existing recipe in the meta-mender repository.
#
# Given your Yocto Project version, see which versions of Mender you can currently build here:
# https://docs.mender.io/overview/compatibility#mender-client-and-yocto-project-version
#
# Given a Mender client version, see the corresponding version of the mender-artifact utility:
# https://docs.mender.io/overview/compatibility#mender-clientserver-and-artifact-format
#
# By default this will select the latest version of the tools that is backwards compatible with the
# given Yocto branch.
# If you need an earlier version, or a later version even though it may not be backwards compatible,
# please uncomment the following and set to the required version. If you want to use the bleeding
# edge version, specify "master-git%", but keep in mind that these versions may not be stable:
#
# PREFERRED_VERSION_mender-client = "3.3.0"
# PREFERRED_VERSION_mender-artifact = "3.8.0"
# PREFERRED_VERSION_mender-artifact-native = "3.8.0"
# PREFERRED_VERSION_mender-connect = "2.0.1"

# The following settings to enable systemd are needed for all Yocto
# releases sumo and older.  Newer releases have these settings conditionally
# based on the MENDER_FEATURES settings and the inherit of mender-full above.
DISTRO_FEATURES:append = " systemd"
VIRTUAL-RUNTIME:init_manager = "systemd"
DISTRO_FEATURES_BACKFILL_CONSIDERED = "sysvinit"
VIRTUAL-RUNTIME_initscripts = ""

ARTIFACTIMG_FSTYPE = "ext4"

# Example: Memory card storage
MENDER_STORAGE_DEVICE = "/dev/mmcblk0"
# Example: Memory card with 2GiB of storage.
#MENDER_STORAGE_TOTAL_SIZE_MB = "29476"
#MENDER_STORAGE_TOTAL_SIZE_MB = "14738"
MENDER_STORAGE_TOTAL_SIZE_MB = "7369"

MENDER_UBOOT_STORAGE_INTERFACE = "mmc"
MENDER_UBOOT_STORAGE_DEVICE = "0"

MENDER_BOOT_PART = "${MENDER_STORAGE_DEVICE_BASE}1"
MENDER_DATA_PART = "${MENDER_STORAGE_DEVICE_BASE}4"
MENDER_ROOTFS_PART_A = "${MENDER_STORAGE_DEVICE_BASE}2"
MENDER_ROOTFS_PART_B = "${MENDER_STORAGE_DEVICE_BASE}3"

MENDER_FEATURES_ENABLE:append = " mender-uboot mender-image-sd"
MENDER_FEATURES_DISABLE:append = " mender-grub mender-image-uefi"

MACHINE_ESSENTIAL_EXTRA_RDEPENDS:append = " kernel-image kernel-devicetree"

PREFERRED_VERSION:mender-client = "3.3.0"
meta-starfive-bsp کو حسب ضرورت بنائیں
Mender سیٹ اپ کے لیے درکار ترتیبات کو شامل کرنے کے لیے آپ کو meta-starfive-bsp کی ایک برانچ بنانی چاہیے۔
حسب ضرورت بنانا درج ذیل کے لیے درکار ہے:
- conf/machine/starfive-visionfive-jh7100.conf: ان دو لائنوں کو ہٹائیں یا تبصرہ کریں
UBOOT_ENV ?= "uEnv"
UBOOT_ENV_SUFFIX = "txt"- recipes-bsp/bootfiles/files/uEnv.txt: بوٹ کرتے وقت Mender کے متغیرات کو شامل کرنے کے لیے درج ذیل لائن کو تبدیل کریں۔
bootcmd=load mmc 0:1 ${kernel_addr_r} @IMAGETYPE@; load mmc 0:1 ${fdt_addr_r} jh7100-starfive-visionfive-v1.dtb; setenv bootargs 'root=${mender_kernel_root} rw rootfstype=ext4 rootwait earlycon console=ttyS0,115200n8'; booti ${kernel_addr_r} - ${fdt_addr_r}- recipes-bsp/u-boot/u-boot-visionfive_v2022.03.bb: meta-mender کو بتانے کے لیے درج ذیل سطریں شامل کریں، کہ حسب ضرورت u-boot استعمال کیا گیا ہے
require recipes-bsp/u-boot/u-boot-mender.inc

PROVIDES += "u-boot"
RPROVIDES_${PN} += "u-boot"

BOOT_FILES:append = " uEnv.txt"
meta-interelectronix-visionfive میں تراکیب
کچھ سیٹنگز اور متغیرات کو حسب ضرورت میٹا لیئر میں سیٹ کرنے کی ضرورت ہے، جیسا کہ ہم meta-interelectronix-visionfive میں کرتے ہیں۔
- recipes-mender/mender-client/mender-client_%.bbappend: مینڈر سرور کی URL شامل کریں
MENDER_SERVER_URL = "https://mender.interelectronix.com"- recipes-bsp/u-boot/u-boot-visionfive_%.bbappend: درج ذیل لائنیں شامل کریں
MENDER_UBOOT_AUTO_CONFIGURE = "1"
BOOTENV_SIZE = "0x20000"
recipes-bsp/u-boot-env/*: ڈاؤن لوڈ کردہ زپ فائل سے اس ترکیب کو شامل کریں۔ اس میں دو uEnv فائلیں ہیں، جو روٹ فائل سسٹم میں استعمال ہوتی ہیں۔ uEnv_visionfive.txt rootfs میں استعمال ہوتا ہے جب پارٹیشن A سے بوٹ کیا جاتا ہے، اور پارٹیشن B سے بوٹ کرتے وقت uEnv_visionfive3.txt استعمال ہوتا ہے۔
recipes-core/images/vision-five-image-mender.bb: یہ امیج ترکیب لیں یا اپنی امیج ترکیب میں 'u-boot-env' شامل کریں
IMAGE_INSTALL:append = " v4l-utils u-boot-env"اہم
آپ کے اپنی تصویر کو بٹ بیک کرنے سے پہلے، آپ کو u-boot کو حسب ضرورت بنانا ہو گا جیسا کہ مضامین کے سلسلے کے اگلے حصے میں بیان کیا گیا ہے۔
Mender کے لیے u-boot سیٹ اپ کرنے کا طریقہ VisionFive - Mender - Yocto - حصہ 3 میں دیکھیں۔
کاپی رائٹ لائسنس
کاپی رائٹ © 2022 Interelectronix eKاس پروجیکٹ کا سورس کوڈ GPL-3.0 لائسنس کے تحت لائسنس یافتہ ہے۔

مضامین کے سلسلے کا حصہ 1، Mender کلائنٹ انضمام کے ساتھ Yocto Linux بنانے کے لیے Yocto ماحول کیسے سیٹ اپ کیا جائے۔

مضامین کے سلسلے کا حصہ 4، Mender کلائنٹ انضمام کے ساتھ Yocto Linux بنانے کے لیے Yocto ماحول کیسے سیٹ اپ کیا جائے۔

مضامین کے سلسلے کا حصہ 3، Mender کلائنٹ انضمام کے ساتھ Yocto Linux بنانے کے لیے Yocto ماحول کیسے سیٹ اپ کیا جائے۔

