ddcutil yoctoレシピ
このプロジェクトでは、ddcutilライブラリに、I2Cを介したHDMIディスプレイ設定にアクセス権を付与する必要があります。.
ddcutilライブラリを、お使いのカスタムのlinuxシステムに含むには、カスタムレシピを作る必要があります。#### ddcutil_git.bb レシピ
カスタムmeta-layerに、'recipes-support/ddcutil'フォルダーを作ります。そして、このフォルダー内に、'ddcutil_git.bb'ファイルを作ります。
SUMMARY = "Tool to modify display settings by ddc (hdmi)"
HOMEPAGE = "http://www.ddcutil.com"
AUTHOR = "Sanford Rockowitz  [email protected]"
LICENSE = "GPLv2"
LIC_FILES_CHKSUM = "file://COPYING;md5=b234ee4d69f5fce4486a80fdaf4a4263"
BRANCH = "master"
SRCREV = "5080161b456cc6a1fd3e6db3dc537e1dcd1c809b"
PV = "1.2.2+${SRCPV}"
SRC_URI = "

git://github.com/rockowitz/ddcutil;branch=${BRANCH};protocol=https;

"
disable trying to fetch from mirrors
PREMIRRORS = ""
MIRRORS = ""
DEPENDS += "

i2c-tools

libusb1

libdrm

libgudev

"
RDEPENDS_${PN} += "

i2c-tools

i2c-tools-misc

libdrm

"
S = "${WORKDIR}/git"
EXTRA_OECONF += "

--disable-x11 --enable-drm --disable-usb --enable-lib --disable-doxygen

"
inherit autotools pkgconfig
ddcutilを画像に含める
Yocto Linuxにレシピを含める必要があります。
IMAGE_INSTALL:append = " ddcutil"その後、画像をビットベイクして結果をテストできます。
ddcutilをテストする
カスタム埋め込みシステムにログインするか、SSH経由で接続します。これで、ddcutilコマンドを使用して、実装が成功したかどうかを確認できます。####レポートモニターを検出
まず、HDMIモニターがddcutil経由で接続され、利用可能かどうかを検出できます。次のコマンドを使用します。
ddcutil detect出力は次のようになります。
Display 1
I2C bus:  /dev/i2c-3
EDID synopsis:
Mfg id:               IVM
Model:                PLT2236
Product code:         22057
Serial number:        11402A7100051
Binary serial number: 51 (0x00000033)
Manufacture year:     2017,  Week: 1
VCP version:         2.1
####すべての設定を取得
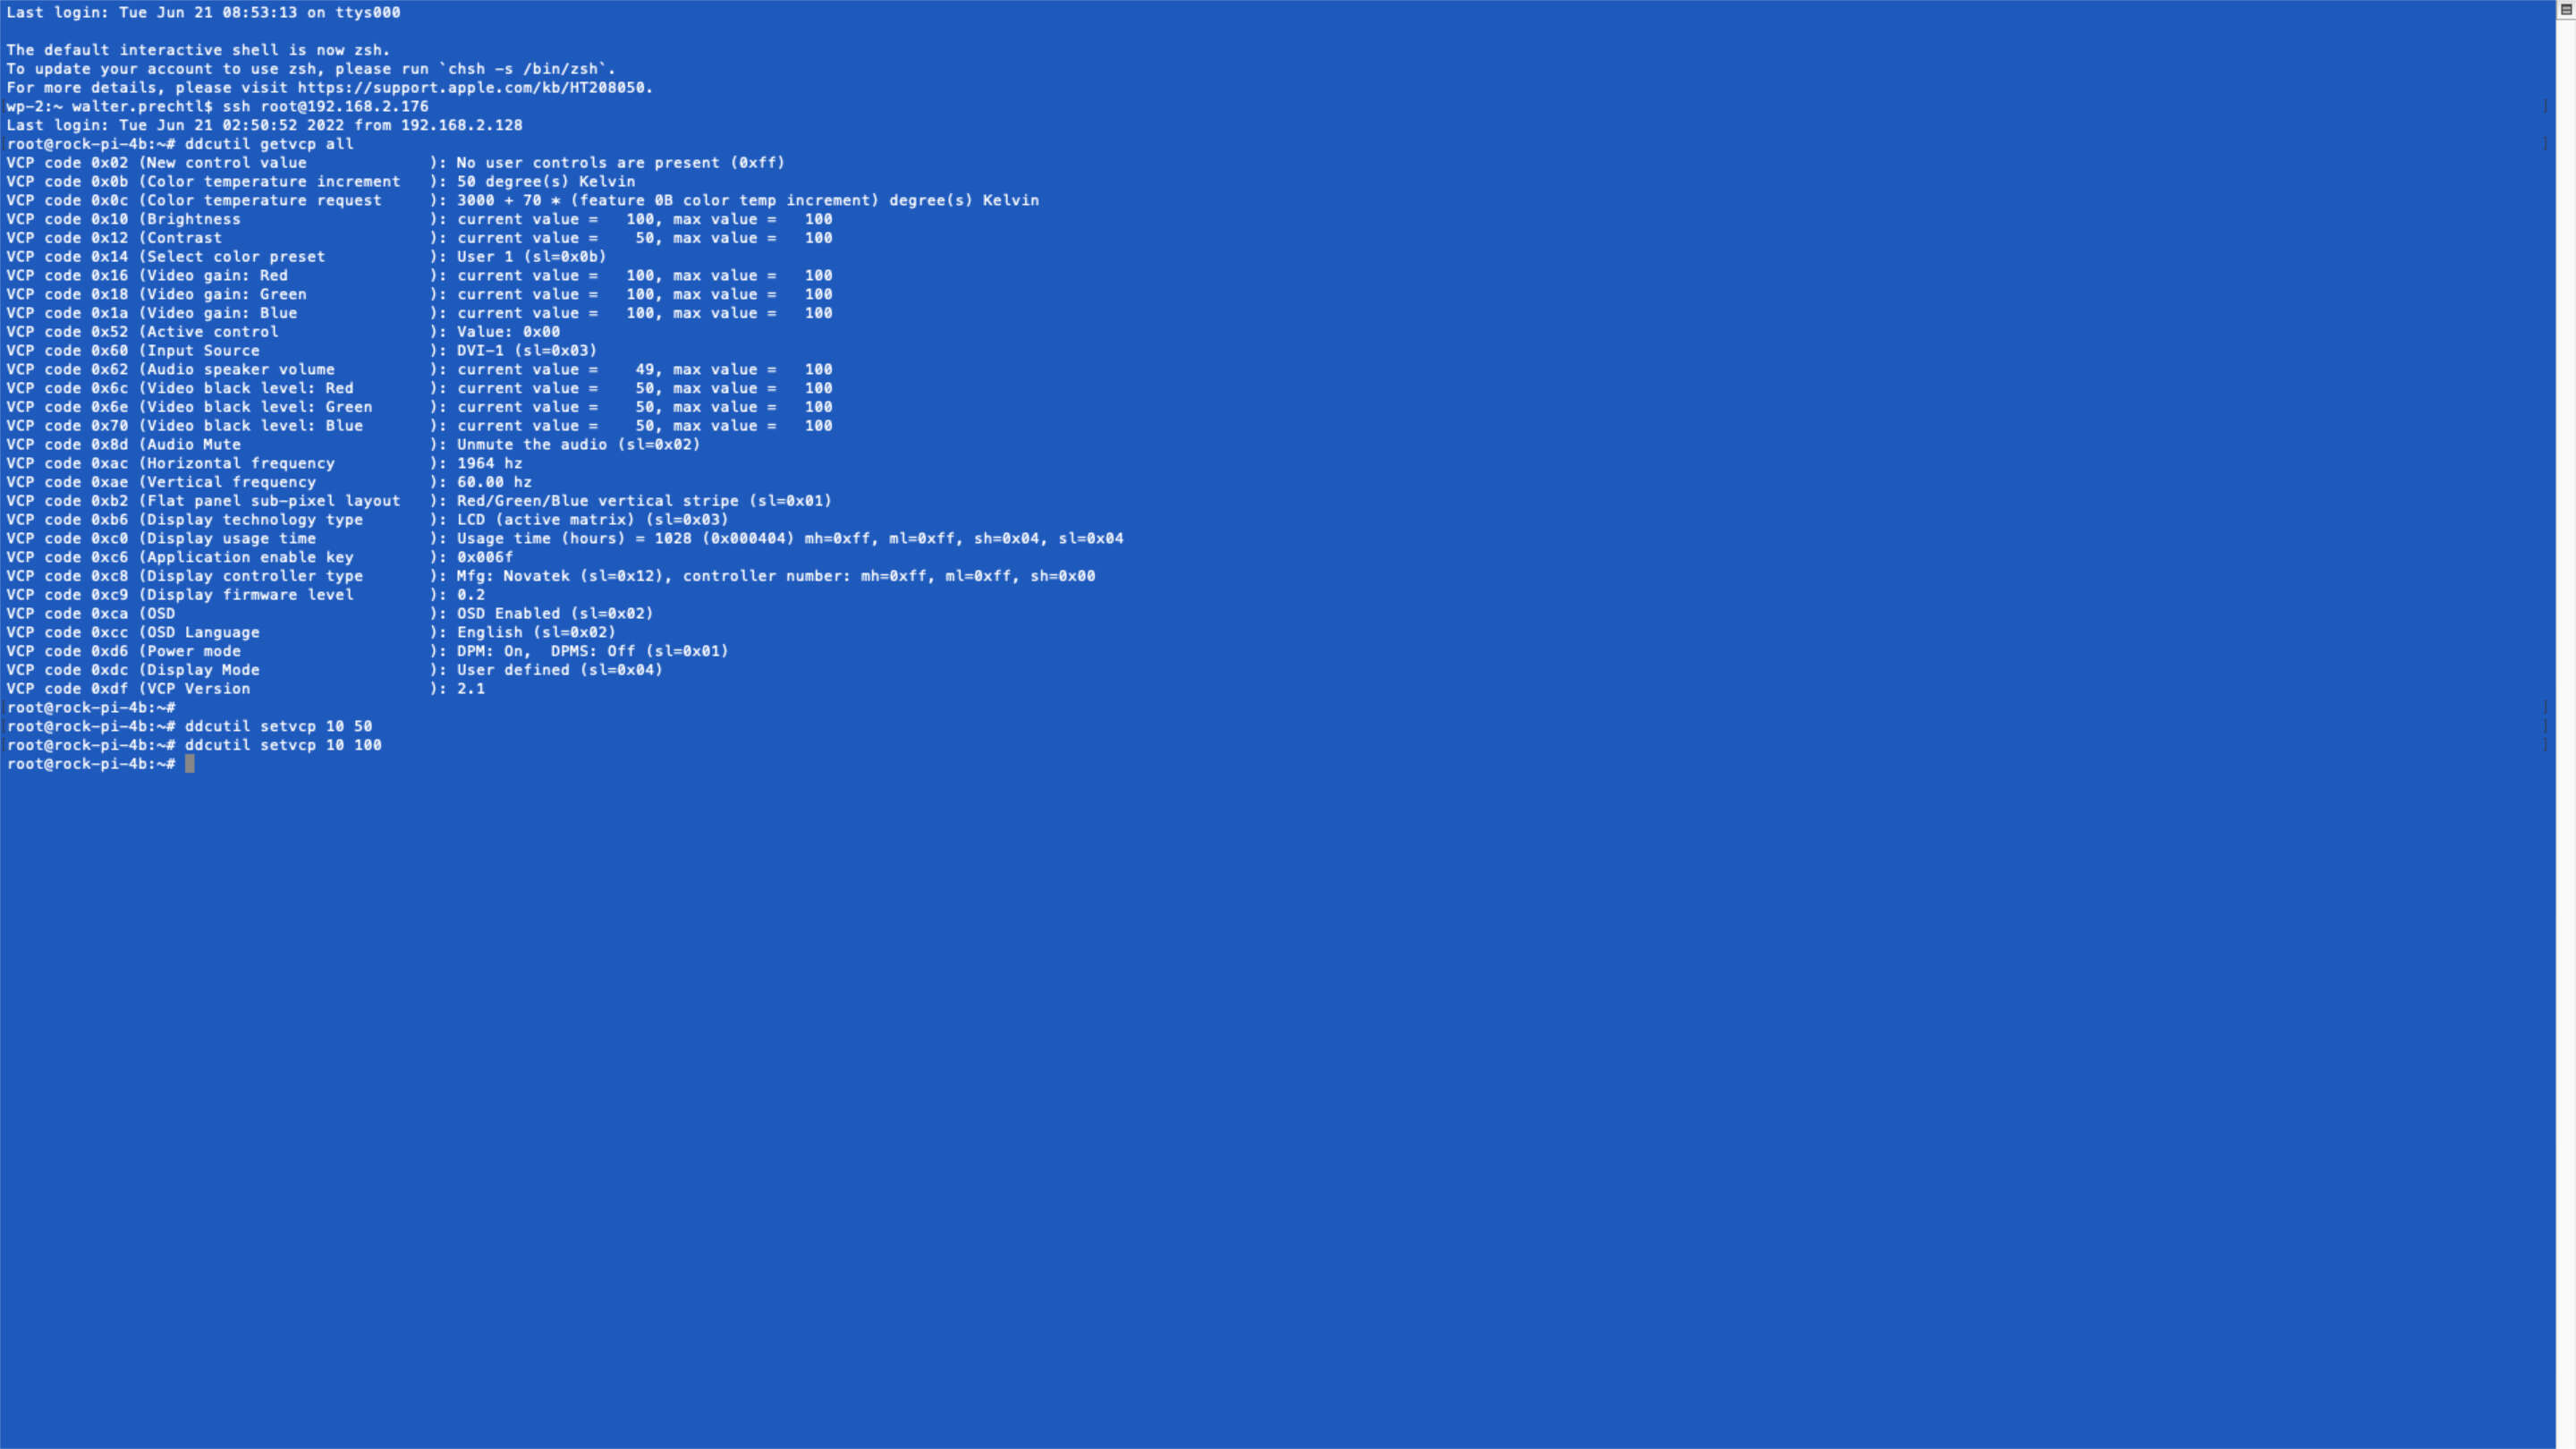
すべての設定を取得するには、次のコマンドを使用します。
ddcutil getvcp all出力は次のようになります。
VCP code 0x02 (New control value             ): No user controls are present (0xff)
VCP code 0x0b (Color temperature increment   ): 50 degree(s) Kelvin
VCP code 0x0c (Color temperature request     ): 3000 + 70 * (feature 0B color temp increment) degree(s) Kelvin
VCP code 0x10 (Brightness                    ): current value =   100, max value =   100
VCP code 0x12 (Contrast                      ): current value =    50, max value =   100
VCP code 0x14 (Select color preset           ): User 1 (sl=0x0b)
VCP code 0x16 (Video gain: Red               ): current value =   100, max value =   100
VCP code 0x18 (Video gain: Green             ): current value =   100, max value =   100
VCP code 0x1a (Video gain: Blue              ): current value =   100, max value =   100
VCP code 0x52 (Active control                ): Value: 0x00
VCP code 0x60 (Input Source                  ): DVI-1 (sl=0x03)
VCP code 0x62 (Audio speaker volume          ): current value =    49, max value =   100
VCP code 0x6c (Video black level: Red        ): current value =    50, max value =   100
VCP code 0x6e (Video black level: Green      ): current value =    50, max value =   100
VCP code 0x70 (Video black level: Blue       ): current value =    50, max value =   100
VCP code 0x8d (Audio Mute                    ): Unmute the audio (sl=0x02)
VCP code 0xac (Horizontal frequency          ): 1964 hz
VCP code 0xae (Vertical frequency            ): 60.00 hz
VCP code 0xb2 (Flat panel sub-pixel layout   ): Red/Green/Blue vertical stripe (sl=0x01)
VCP code 0xb6 (Display technology type       ): LCD (active matrix) (sl=0x03)
VCP code 0xc0 (Display usage time            ): Usage time (hours) = 1030 (0x000406) mh=0xff, ml=0xff, sh=0x04, sl=0x06
VCP code 0xc6 (Application enable key        ): 0x006f
VCP code 0xc8 (Display controller type       ): Mfg: Novatek (sl=0x12), controller number: mh=0xff, ml=0xff, sh=0x00
VCP code 0xc9 (Display firmware level        ): 0.2
VCP code 0xca (OSD                           ): OSD Enabled (sl=0x02)
VCP code 0xcc (OSD Language                  ): English (sl=0x02)
VCP code 0xd6 (Power mode                    ): DPM: On,  DPMS: Off (sl=0x01)
VCP code 0xdc (Display Mode                  ): User defined (sl=0x04)
VCP code 0xdf (VCP Version                   ): 2.1
####輝度の設定
モニターの輝度を50%に設定するには、次のコマンドを使用します。
ddcutil setvcp 10 50著作権ライセンス
** Copyright © 2022 Interelectronix e.K.** このプロジェクトのソースコードは、** GPL-3.0 **ライセンスの下でライセンスされています。

