We love Open Source Software
We have a deep appreciation for open source software. Its accessibility, community-driven development, and innovation inspire us. Open source software empowers users, fosters collaboration, and drives technological progress. By embracing it, we contribute to a shared pool of knowledge and benefit from the collective expertise of developers worldwide. We support and value the principles of transparency, freedom, and shared success that open source software embodies.
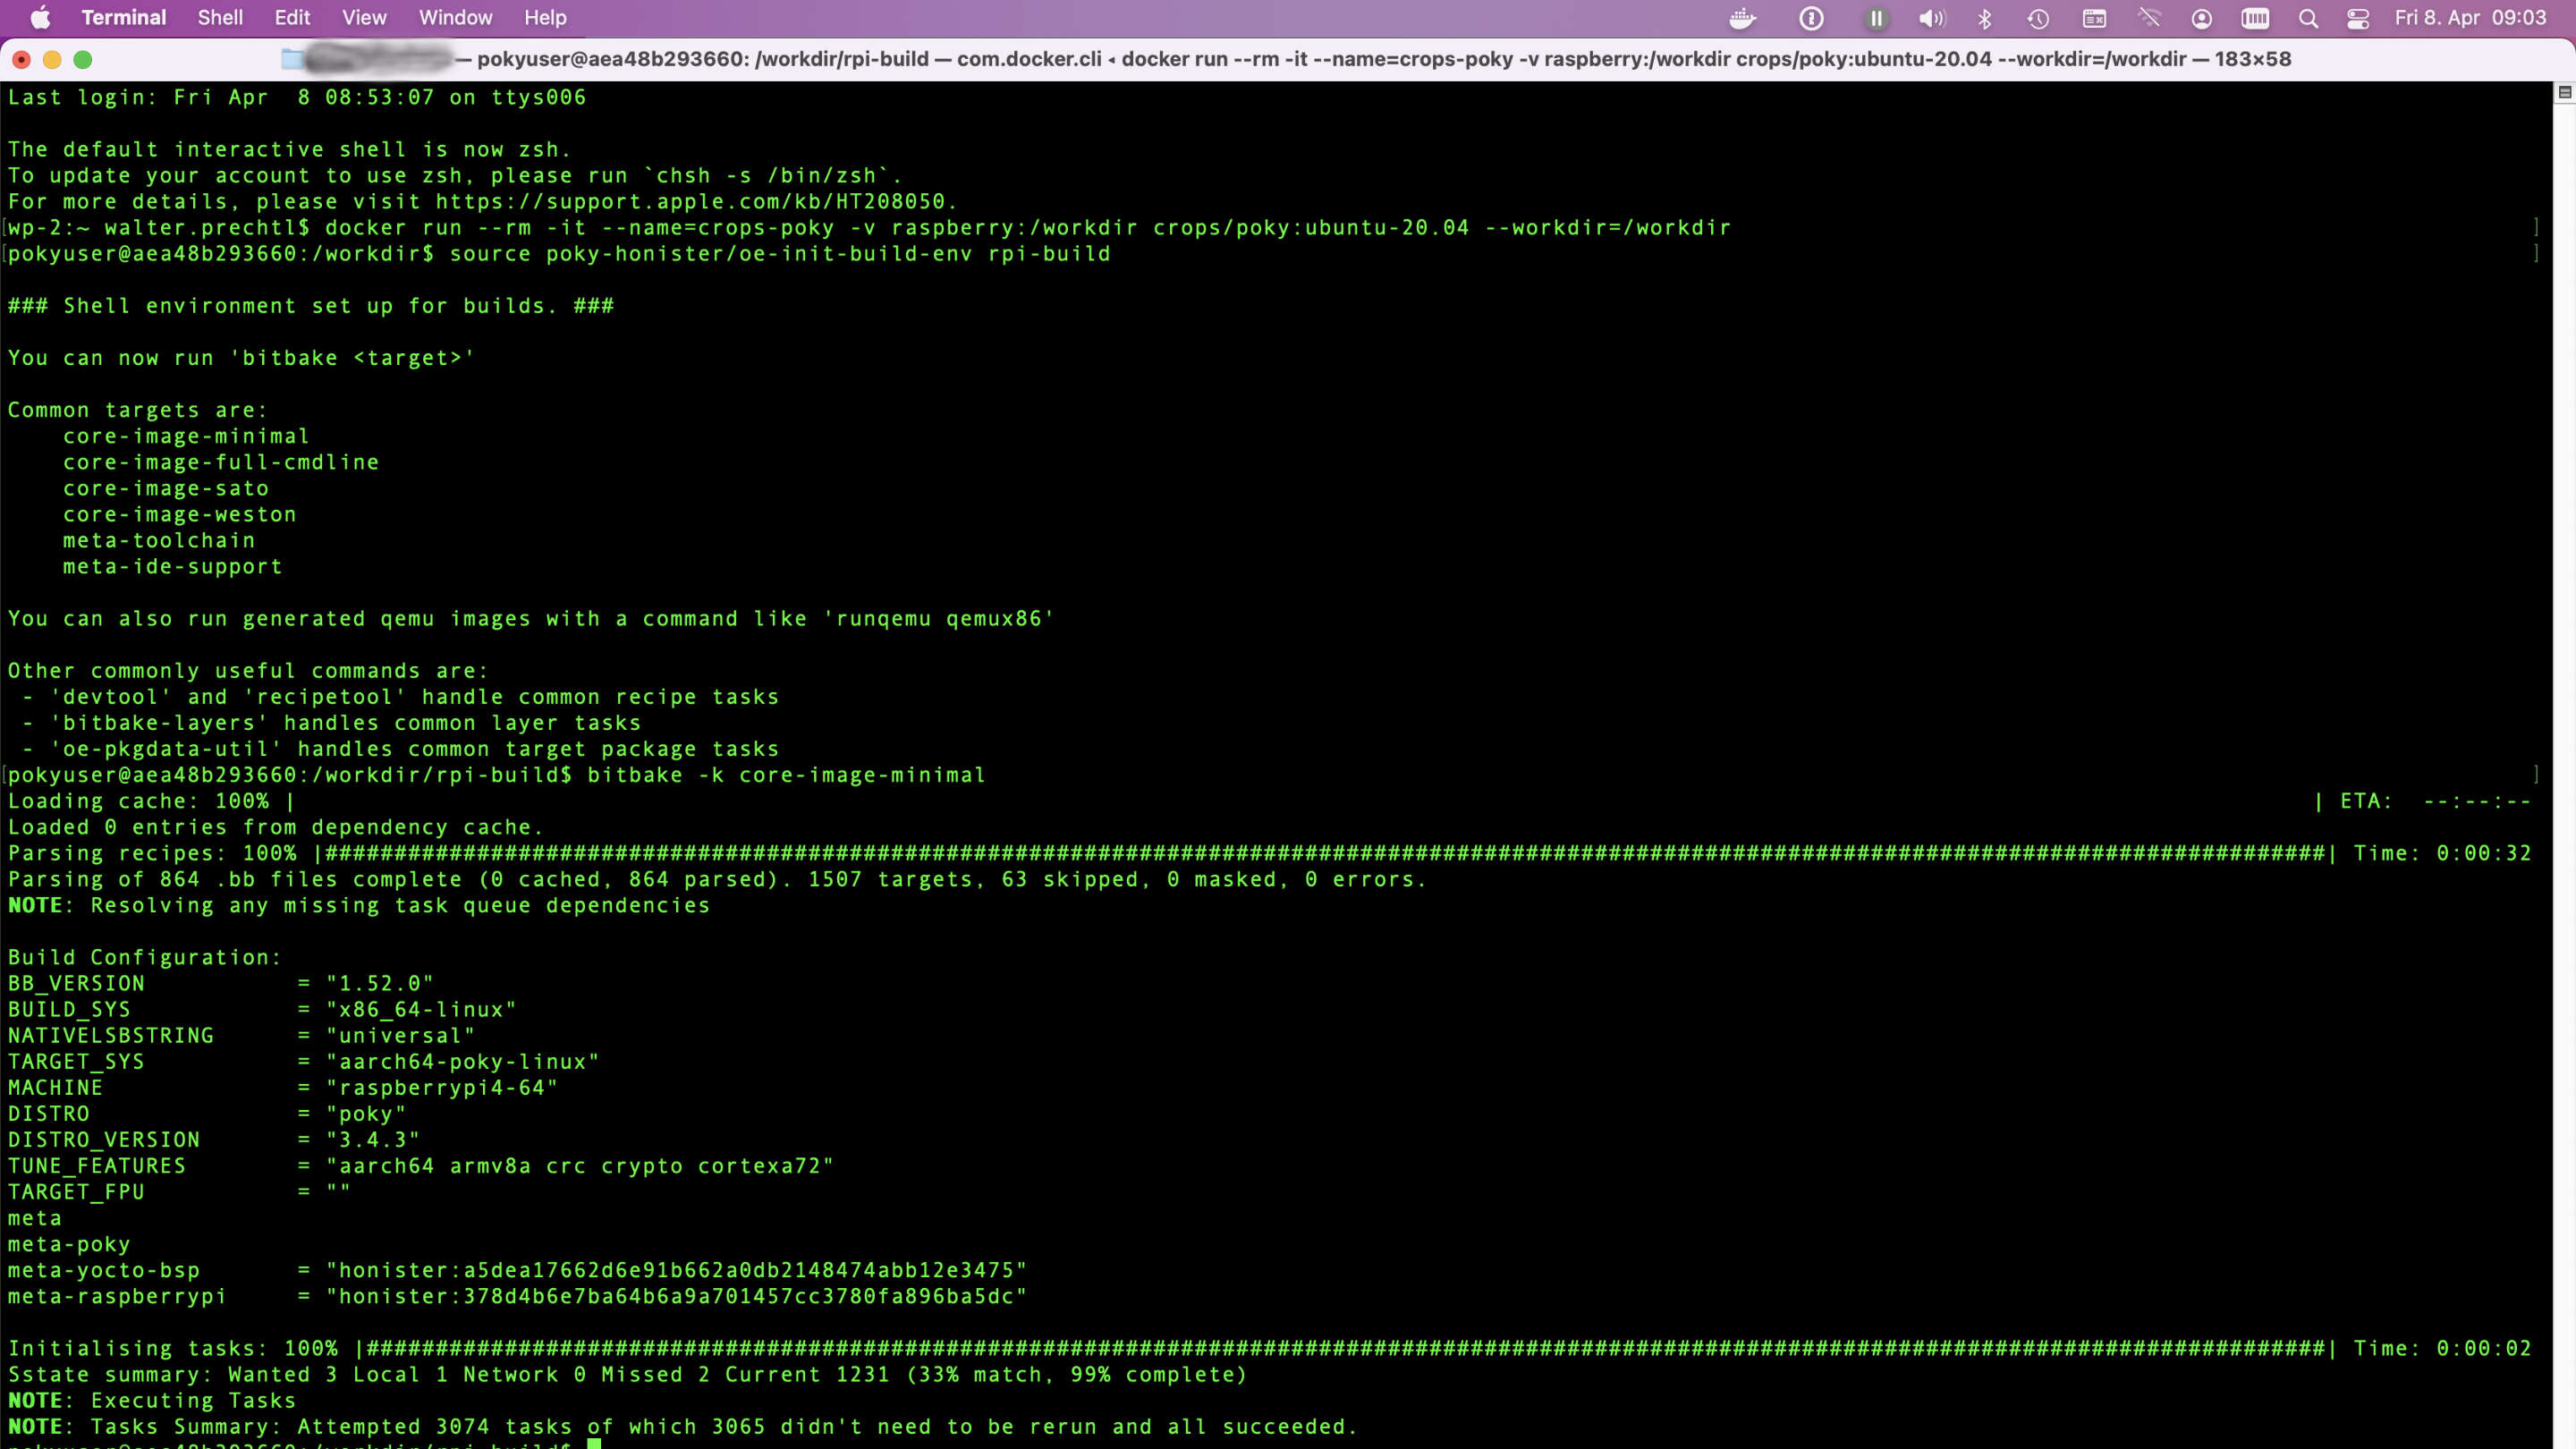
This tutorial will guide you through building a Yocto image for the Raspberry Pi 4 using a Docker environment. By following these steps, you’ll leverage Docker’s isolation to avoid conflicts and ensure a clean build process. We’ll start by setting up Docker on your system, then create a container tailored for Yocto development. Within this container, we’ll clone the Yocto repository and configure it specifically for the Raspberry Pi 4. Using BitBake, we’ll compile the necessary software components into a complete image. Finally, you’ll transfer this image to an SD card and boot your Raspberry Pi 4. This approach ensures a consistent, reproducible build environment, making your development process smoother and more efficient.
Normally, if you create your custom linux image with Yocto for a Raspberry Pi, you also want to show a custom splash screen with a progress bar.
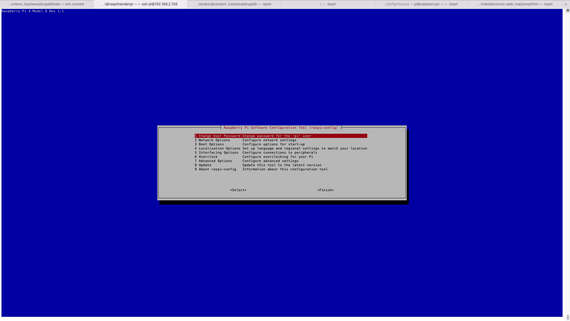
This is a guide for installing Raspberry Pi OS Lite on the Compute Module 4. As a work computer, I use Ubuntu 20, installed in a virtual machine.
This is a guide for cross-compiling Qt 5.15.2 for Raspberry Pi 4 and installing it on the Compute Module 4. It's an update to my blog post Qt on the Raspberry Pi 4, with the difference that this time I'm using Raspberry Pi OS Lite.
This is a guide for configuring the Qt-Creator to use cross-compiled Qt libraries for the Raspberry Pi 4 and to create applications for the Raspberry.
Recently I had to develop an application (kiosk system) for/on a Raspberry Pi 4. The special thing about it was that 2 touch monitors were to be connected via HDMI, which had to be rotated 90 degrees to the right. So portrait formats, 2 monitors on top of each other.
Rotating the screen and arranging it on top of each other did not cause any problems, as this is easily possible via the user interface - a "Raspbian Buster with desktop and recommended software" was installed.
Due to the frequent writing or overwriting of data, the lifespan of an SD card is affected.
For example, it is recommended to write temporary data (e.g. sensor values for comparative calculations) to a RAM disk for applications that often contain temporary data (e.g. sensor values for comparative calculations) that are no longer needed after a restart.
You can also use the USB-C interface of the Raspberry Pi 4, which is normally used for power supply, as a normal USB interface.
In this case, however, the Raspberry should supply power via the GPIO pins.
