Mender Yocto setup
We are using the Yocto Kirkstone branch for development. We assume that you already have a working development environment installed and set up your environment as described in VisionFive - Mender - Yocto - Part 1.
Mender server setup
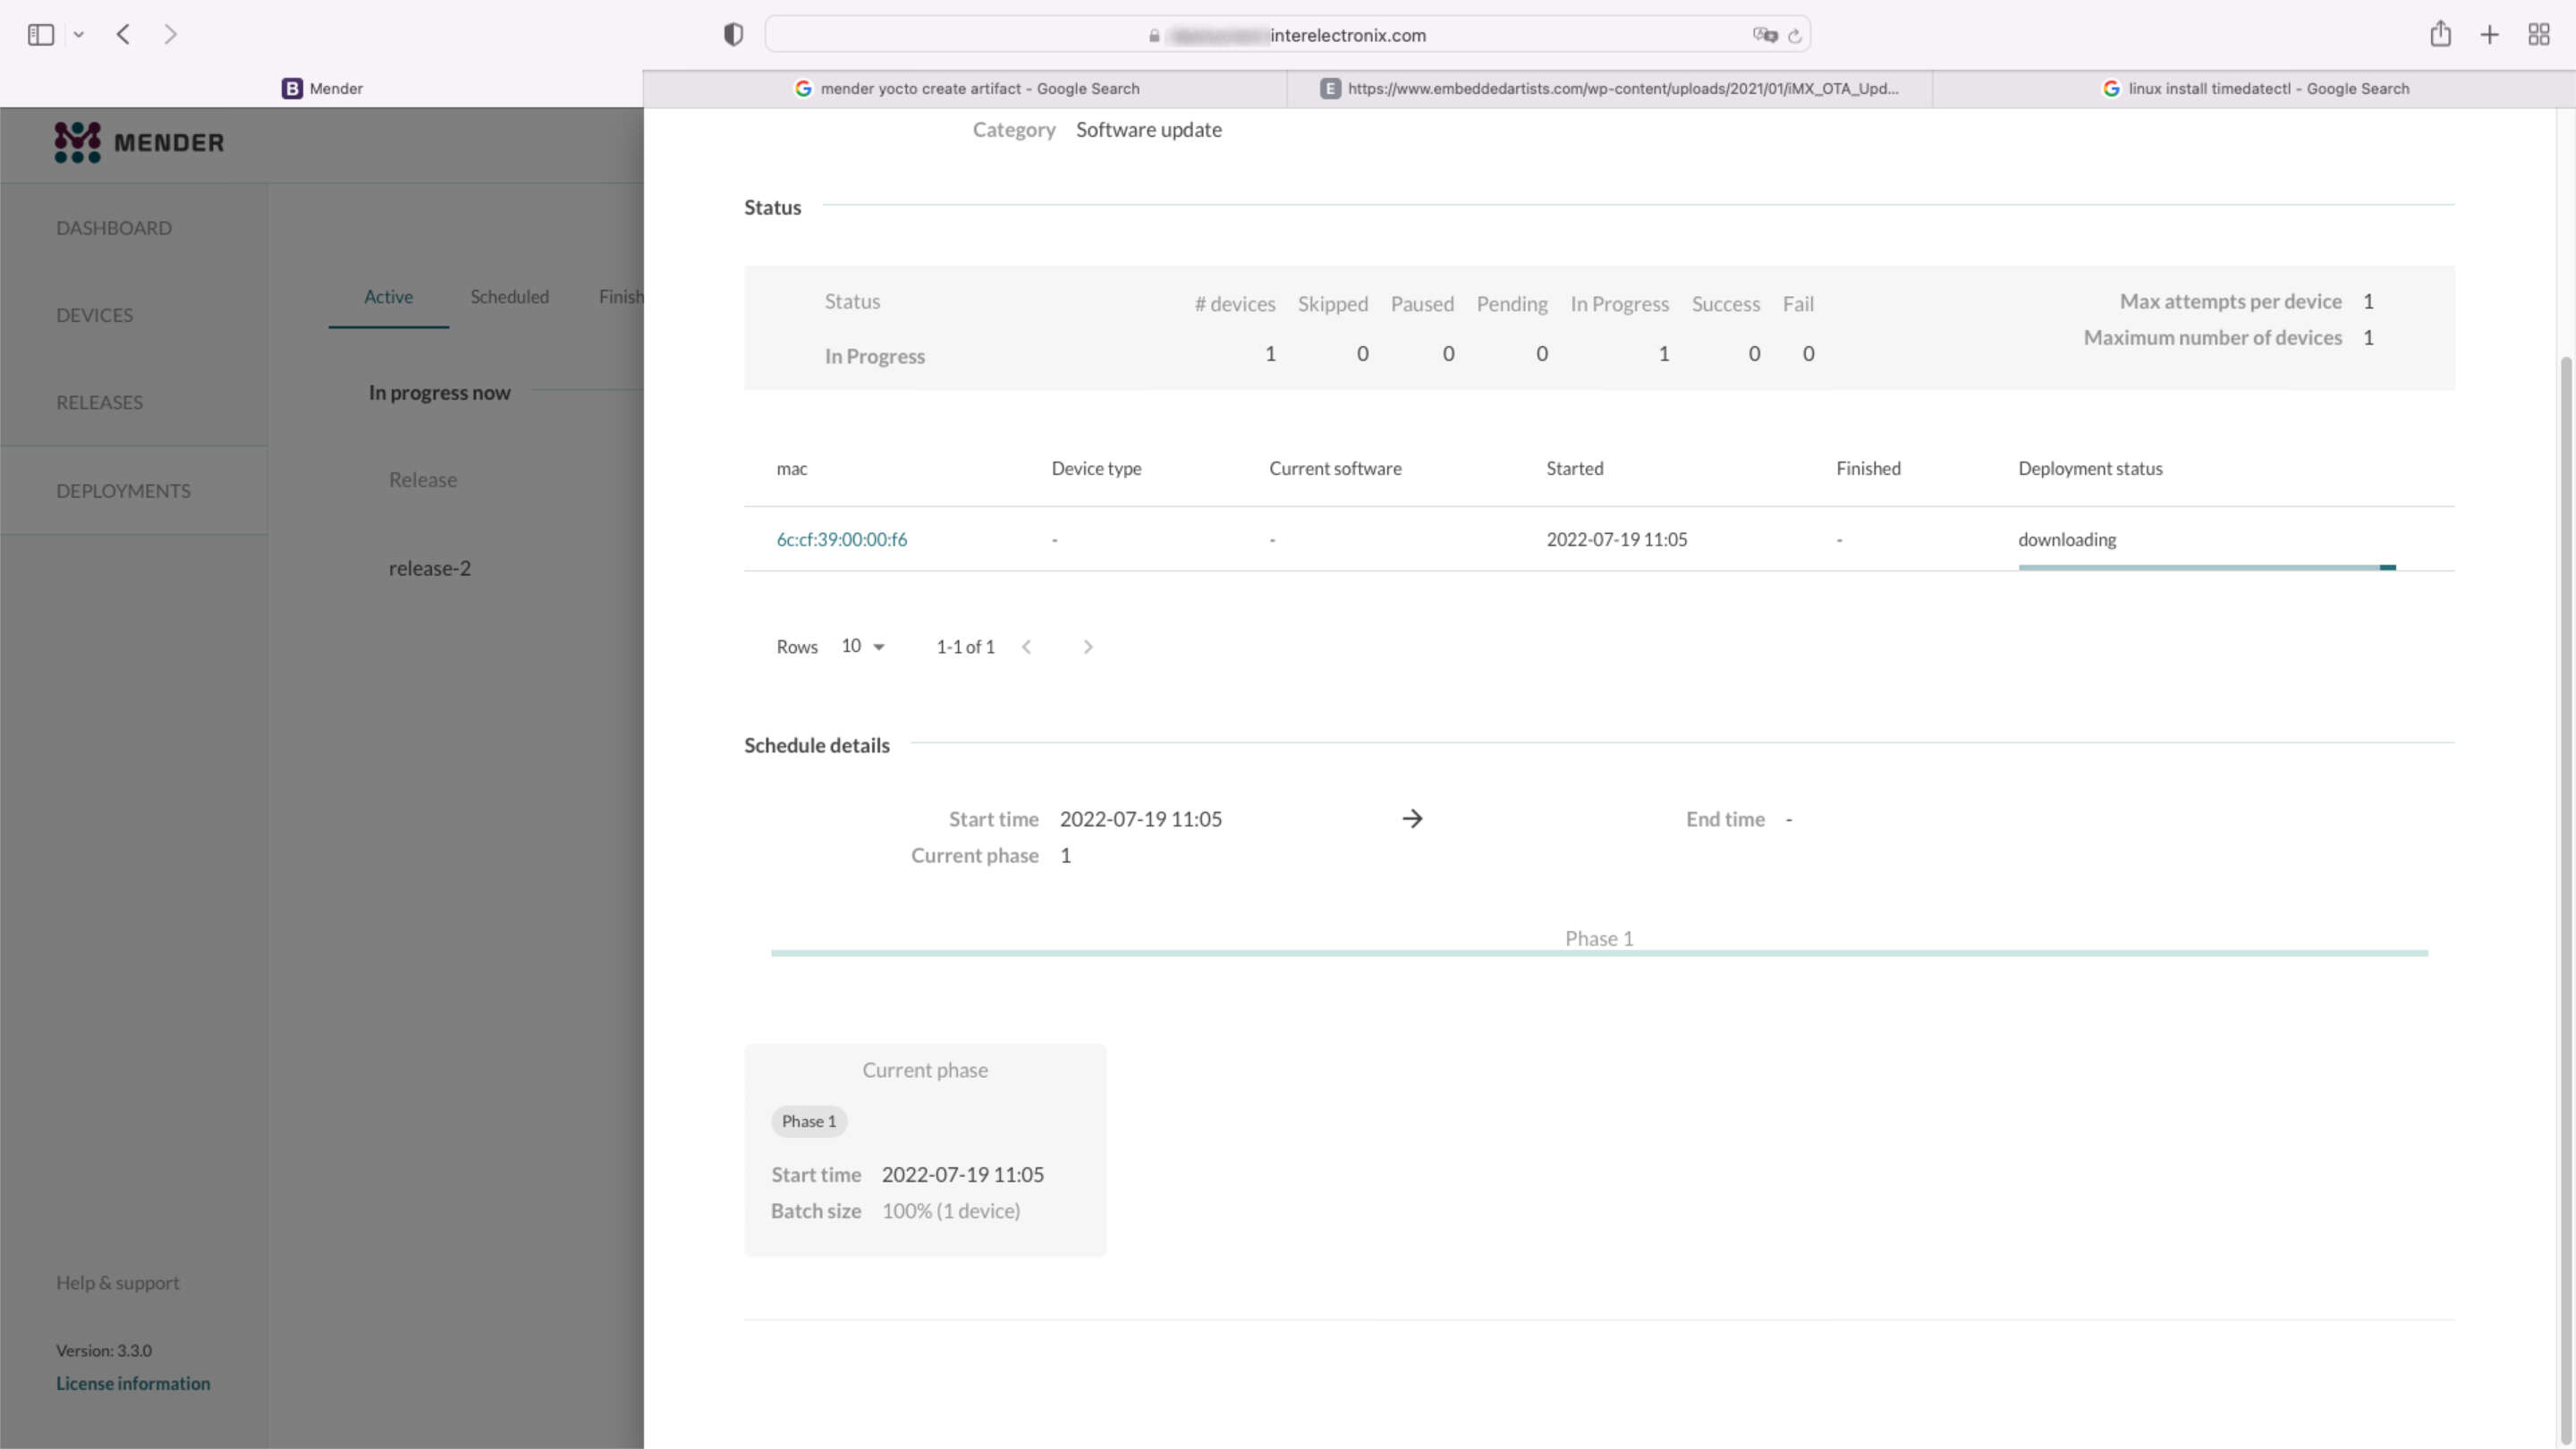
The installation of the Mender server is not part of this article series. For our test environment, we installed the Mender server using the installation tutorial with docker-compose as described in Installation with Docker Compose.
Note
Deviant to the tutorial, we use our custom wildcard CA certificate. If you want to do so, you have to copy your public and private key to '/mender-server/production/keys-generated/cert' before you run the command './run up -d'.
Before you continue, you should be able to log in to the Mender server without getting any error messages.
Clone meta-mender
Go to your poky directory - in my case poky-kirkstone - and clone the meta-mender repository. As there is not yet a Kirkstone branch, you have to clone the 'master-next' branch.
cd poky-kirkstone
git clone -b master-next https://github.com/mendersoftware/meta-mender.git
local.conf and bblayers.conf
Copy bblayers.conf.sample-mender and local.conf.sample-mender from meta-interelectronix-visionfive directory into the conf directory and rename it to bblayers.conf and local.conf:
cp ../poky-kirkstone/meta-interelectronix-visionfive/conf/bblayers.conf.sample-mender conf/bblayers.conf
cp ../poky-kirkstone/meta-interelectronix-visionfive/conf/local.conf.sample-mender conf/local.conf
In the bblayers.conf file you have to adjust the path to your poky-kirkstone directory. Also delete the line '/workdir/poky-kirkstone/meta-interelectronix ' - it's only needed for our psplash customization.
The important settings in local.conf are:
# mender settings
# The name of the disk image and Artifact that will be built.
# This is what the device will report that it is running, and different updates must have different names
# because Mender will skip installation of an Artifact if it is already installed.
MENDER_ARTIFACT_NAME = "release-1"

INHERIT += "mender-full"

# The version of Mender to build. This needs to match an existing recipe in the meta-mender repository.
#
# Given your Yocto Project version, see which versions of Mender you can currently build here:
# https://docs.mender.io/overview/compatibility#mender-client-and-yocto-project-version
#
# Given a Mender client version, see the corresponding version of the mender-artifact utility:
# https://docs.mender.io/overview/compatibility#mender-clientserver-and-artifact-format
#
# By default this will select the latest version of the tools that is backwards compatible with the
# given Yocto branch.
# If you need an earlier version, or a later version even though it may not be backwards compatible,
# please uncomment the following and set to the required version. If you want to use the bleeding
# edge version, specify "master-git%", but keep in mind that these versions may not be stable:
#
# PREFERRED_VERSION_mender-client = "3.3.0"
# PREFERRED_VERSION_mender-artifact = "3.8.0"
# PREFERRED_VERSION_mender-artifact-native = "3.8.0"
# PREFERRED_VERSION_mender-connect = "2.0.1"

# The following settings to enable systemd are needed for all Yocto
# releases sumo and older.  Newer releases have these settings conditionally
# based on the MENDER_FEATURES settings and the inherit of mender-full above.
DISTRO_FEATURES:append = " systemd"
VIRTUAL-RUNTIME:init_manager = "systemd"
DISTRO_FEATURES_BACKFILL_CONSIDERED = "sysvinit"
VIRTUAL-RUNTIME_initscripts = ""

ARTIFACTIMG_FSTYPE = "ext4"

# Example: Memory card storage
MENDER_STORAGE_DEVICE = "/dev/mmcblk0"
# Example: Memory card with 2GiB of storage.
#MENDER_STORAGE_TOTAL_SIZE_MB = "29476"
#MENDER_STORAGE_TOTAL_SIZE_MB = "14738"
MENDER_STORAGE_TOTAL_SIZE_MB = "7369"

MENDER_UBOOT_STORAGE_INTERFACE = "mmc"
MENDER_UBOOT_STORAGE_DEVICE = "0"

MENDER_BOOT_PART = "${MENDER_STORAGE_DEVICE_BASE}1"
MENDER_DATA_PART = "${MENDER_STORAGE_DEVICE_BASE}4"
MENDER_ROOTFS_PART_A = "${MENDER_STORAGE_DEVICE_BASE}2"
MENDER_ROOTFS_PART_B = "${MENDER_STORAGE_DEVICE_BASE}3"

MENDER_FEATURES_ENABLE:append = " mender-uboot mender-image-sd"
MENDER_FEATURES_DISABLE:append = " mender-grub mender-image-uefi"

MACHINE_ESSENTIAL_EXTRA_RDEPENDS:append = " kernel-image kernel-devicetree"

PREFERRED_VERSION:mender-client = "3.3.0"
Customize meta-starfive-bsp
You should create a branch of meta-starfive-bsp to add the settings needed for Mender setup.
Customizations are needed in:
- conf/machine/starfive-visionfive-jh7100.conf: Remove or comment this two lines
UBOOT_ENV ?= "uEnv"
UBOOT_ENV_SUFFIX = "txt"- recipes-bsp/bootfiles/files/uEnv.txt: Replace the following line to include Mender variables while booting
bootcmd=load mmc 0:1 ${kernel_addr_r} @IMAGETYPE@; load mmc 0:1 ${fdt_addr_r} jh7100-starfive-visionfive-v1.dtb; setenv bootargs 'root=${mender_kernel_root} rw rootfstype=ext4 rootwait earlycon console=ttyS0,115200n8'; booti ${kernel_addr_r} - ${fdt_addr_r}- recipes-bsp/u-boot/u-boot-visionfive_v2022.03.bb: Add the following lines to tell meta-mender, that a custom u-boot is used
require recipes-bsp/u-boot/u-boot-mender.inc

PROVIDES += "u-boot"
RPROVIDES_${PN} += "u-boot"

BOOT_FILES:append = " uEnv.txt"
Recipes in meta-interelectronix-visionfive
Some settings and variables are needed to be set in custom meta-layer, as we do in meta-interelectronix-visionfive.
- recipes-mender/mender-client/mender-client_%.bbappend: Add the URL of the Mender server
MENDER_SERVER_URL = "https://mender.interelectronix.com"- recipes-bsp/u-boot/u-boot-visionfive_%.bbappend: Add the following lines
MENDER_UBOOT_AUTO_CONFIGURE = "1"
BOOTENV_SIZE = "0x20000"
recipes-bsp/u-boot-env/*: Add this recipe from the downloaded zip file. It contains two uEnv-files, which are used in the root file system. uEnv_visionfive.txt is used in rootfs, when booting from partition A and uEnv_visionfive3.txt is used when booting from partition B.
recipes-core/images/vision-five-image-mender.bb: Take this image recipe or add 'u-boot-env' to your image recipe
IMAGE_INSTALL:append = " v4l-utils u-boot-env"Important
Before you can bitbake your image, you have to customize u-boot as described in the next part of the article series.
See how to setup u-boot for Mender in VisionFive - Mender - Yocto - Part 3.
Copyright License
Copyright © 2022 Interelectronix e.K.
This Project source code is licensed under the GPL-3.0 license.

Part 1 of a series of articles, how to set up a Yocto environment to create a Yocto Linux with the integration of a Mender client.

Part 4 of a series of articles, how to set up a Yocto environment to create a Yocto Linux with the integration of a Mender client.

Part 3 of a series of articles, how to set up a Yocto environment to create a Yocto Linux with the integration of a Mender client.

